Fisheye contents

  • camera

  • adhesive mounting template

  • 3 × wall anchors with screws

  • weatherproofing kit

PoE advisory

Caution: If you are using PoE, ensure that your NVR has enough capacity, otherwise your cameras may randomly disconnect from your system.

Click here to download a PoE calculator in MS Excel.

WARNING!

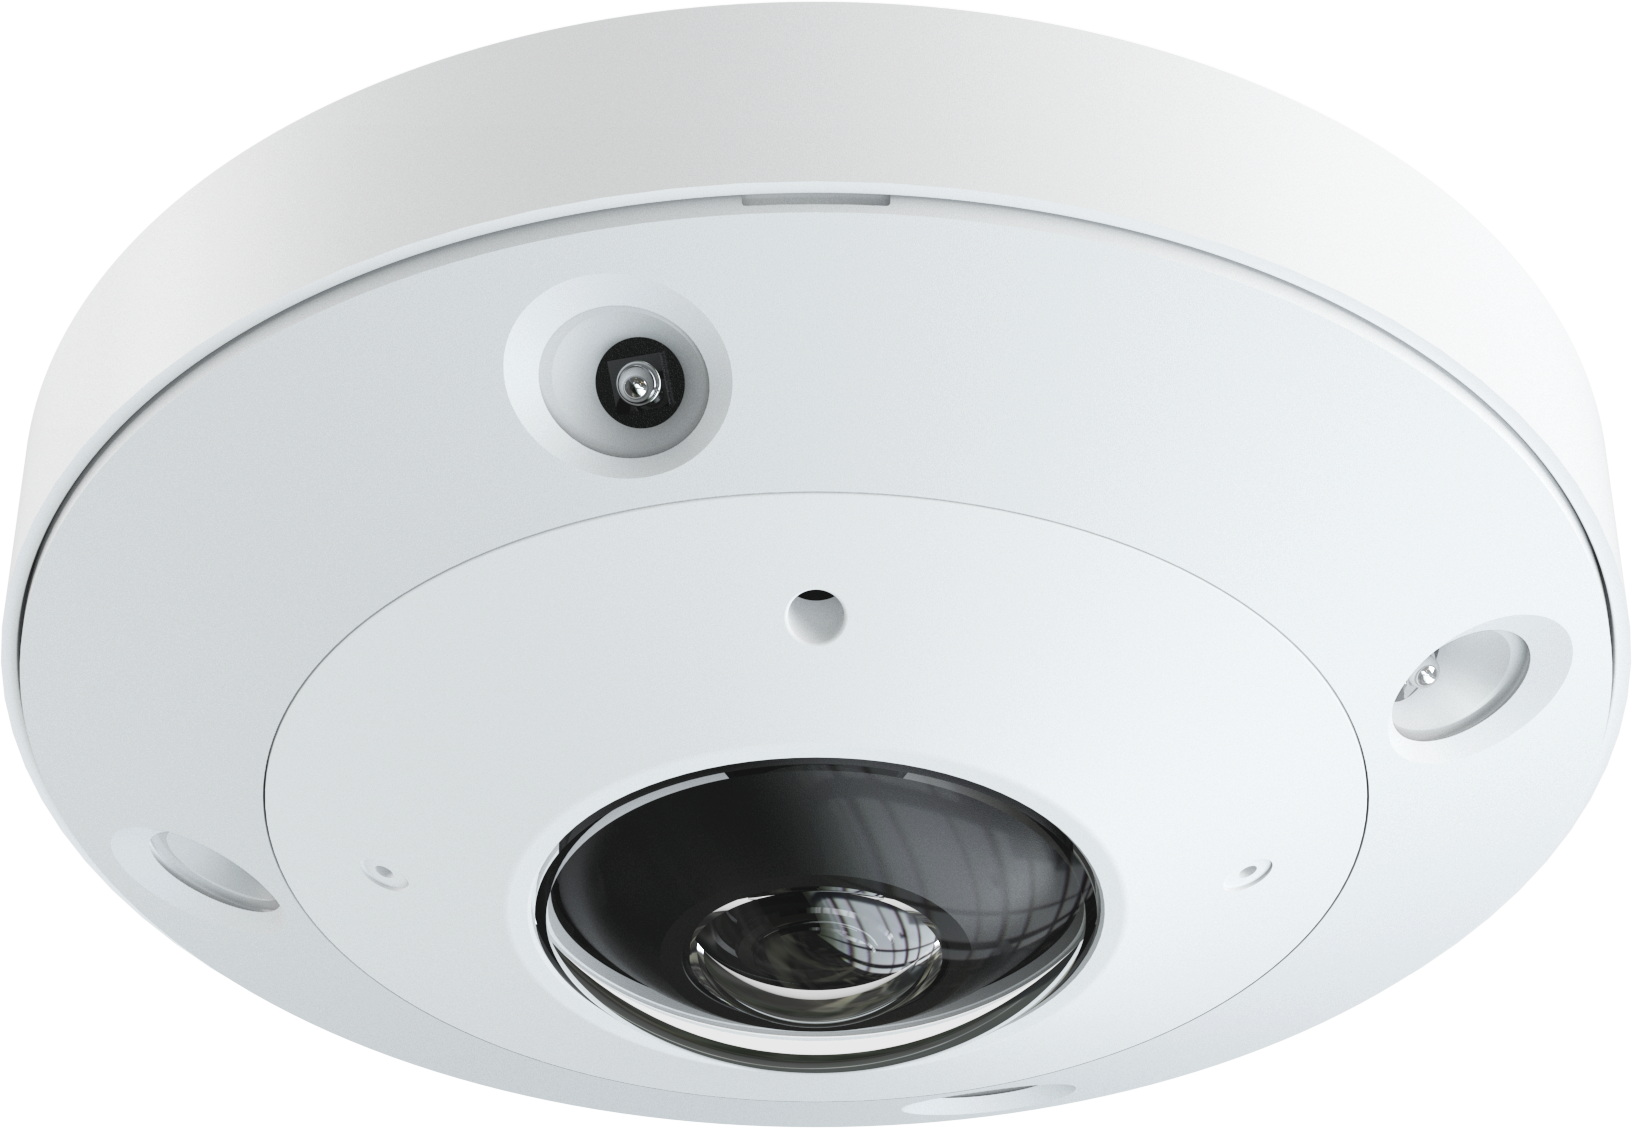
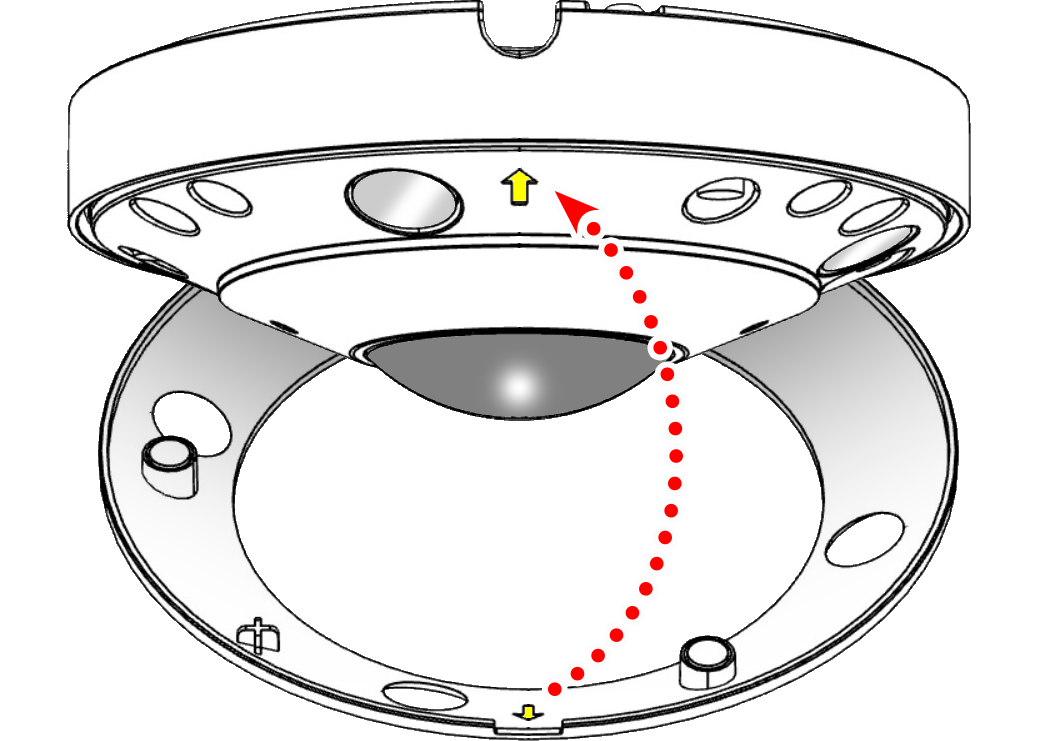
Your camera comes with a thin sheet of protective film on the dome. Do not remove this until installation is complete.

Prepare the surface

Verify the mounting surface is strong enough to withstand 3 times the weight of the camera.

Use the adhesive mounting template to drill pilot holes and cut the cable hole A (if needed).

Warning: If your camera is wall mounted, ePTZ controls may not behave as expected. This will be resolved with a future firmware update.

Detach the trim ring

Insert a flat head screwdriver into this gap. Gently lever the screwdriver to pop the trim ring off.

Remove the utility port cover (optional)

Use a Phillips screwdriver to loosen the screws of the small cover.

Insert a micro-SD card (optional)

You can insert a micro-SD card (up to 256 GB) into the camera body. Use only a surveillance-rated SD card.

Reset button

This button (shown in yellow) is the reset button. If needed, while the camera is powered, press and hold this button for 30 seconds to restore it to factory defaults.

Replace the utility cover.

Weatherproofing: Prepare the tail

Find the white washer in the weatherproofing kit.

Place it on the network connector of the camera's tail. The proper placement is shown here in yellow.

Weatherproofing: Insert the network cable

Slide a terminated category cable through the end cap and the casing.

Caution: Triple-check that your NVR has enough PoE capacity.

Weatherproofing: Connect the tail

Connect the terminated cable to the network connector of your camera's tail.

Weatherproofing: Secure the casing

Slide the weatherproof casing firmly onto the camera's network connector. Twist it to lock it in place.

Weatherproofing: Insert the sealing gasket

The sealing gasket has a slit in the side. Use this slit to place the gasket around the cable, then slide the gasket fully into the weatherproof casing.

Connect the audio (optional)

To add external audio to the feed, connect your local microphone to "IN" and your amplifier to "OUT". The wires are labeled with a small tag.

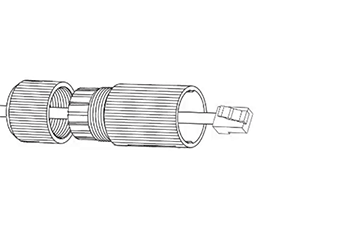
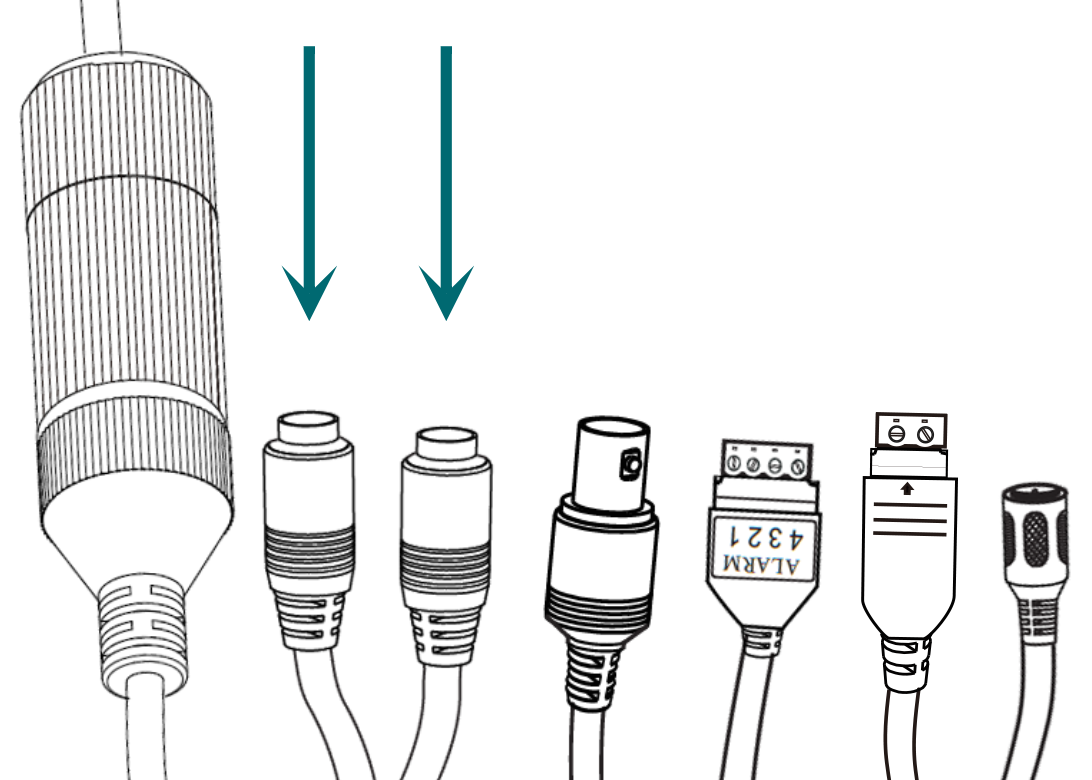
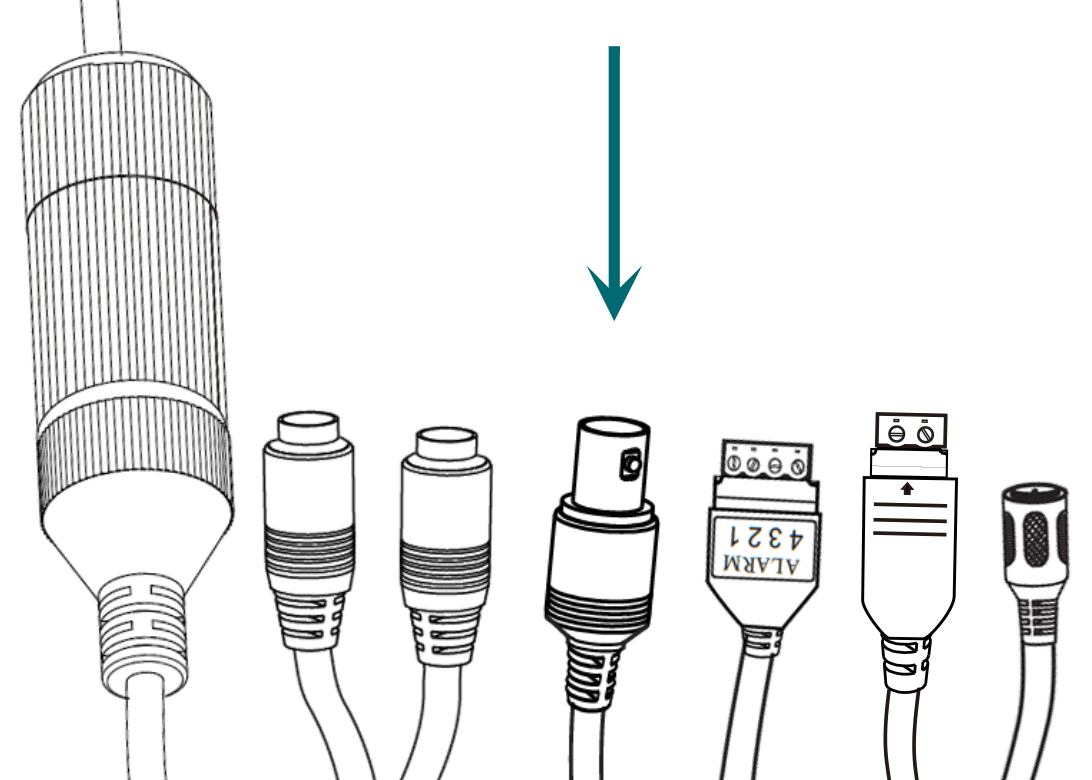
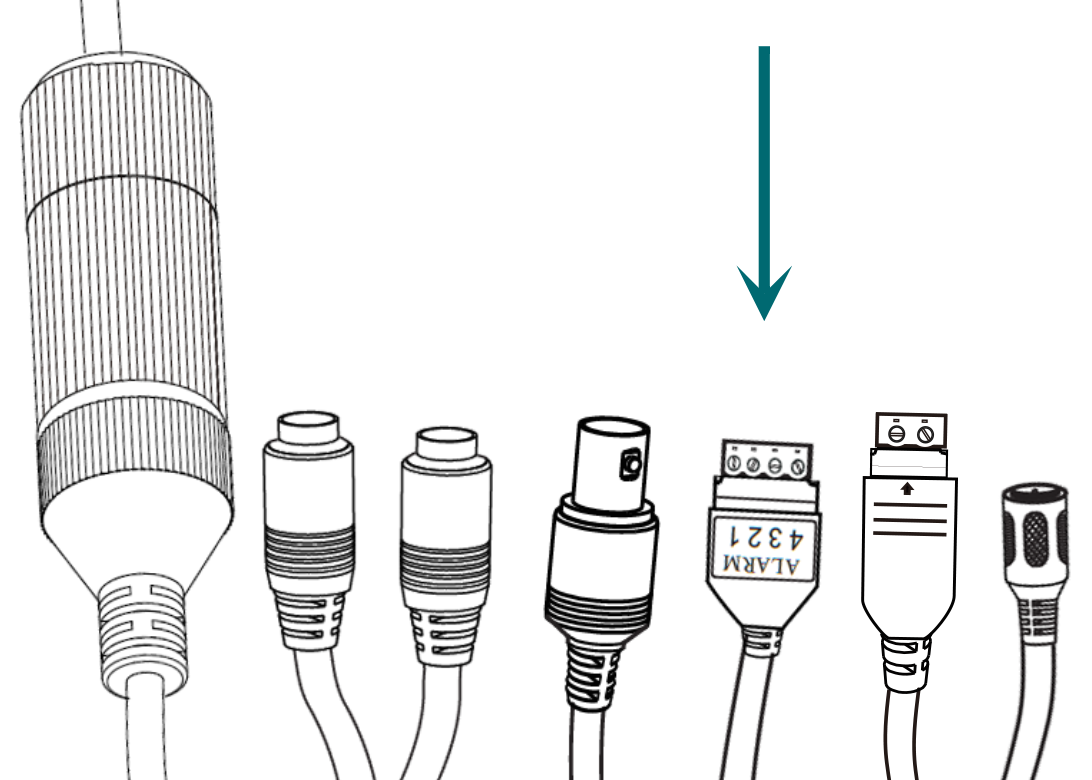
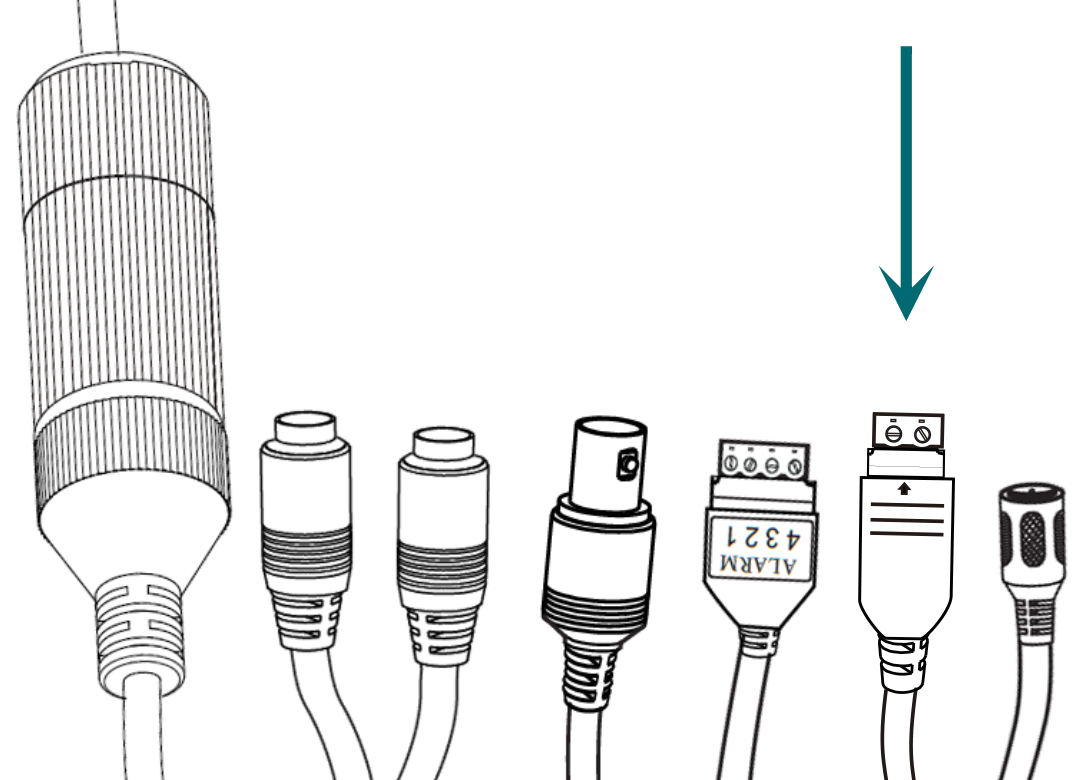
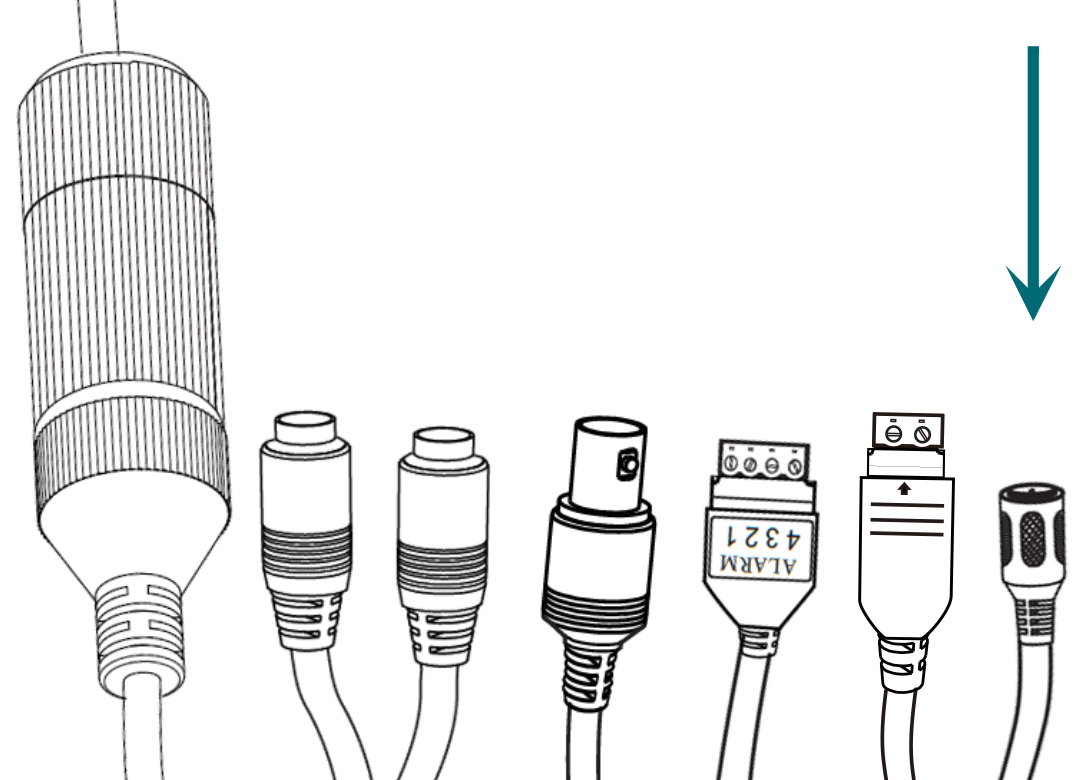
Connect the video output (if needed)

If you need to use a handheld video monitor, connect it to the video output BNC connector.

Connect the alarm (optional)

If you wish to add an alarm or other such system to the camera, attach it to the Phoenix connector.

Connect the RS485 (optional)

If you will use PTZ control to for the ePTZ feature of the camera, connect it here.

Connect the power (if needed)

If not using PoE, attach the power connector (we recommend using the EE-PS-12VDC-1A).

Pro Tip: Wrap any unused connectors to prevent short circuits.

Mount the Camera

Secure the camera to the mounting surface through the holes in the camera body.

Replace the trim ring, remove the film

The trim ring only fits one way. Position the magnetic trim ring so the arrow on the trim ring aligns with the arrow on the camera body. The trim ring magnetically snaps into place.