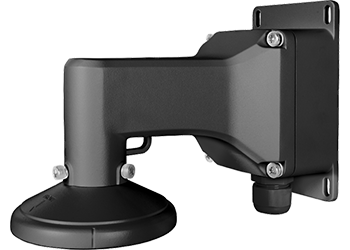
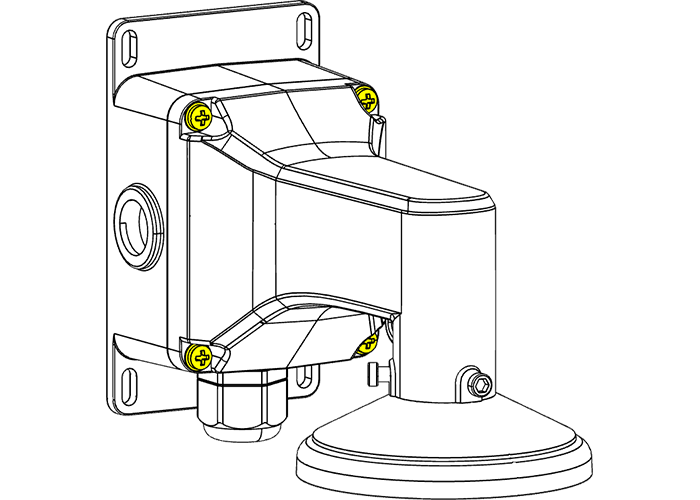
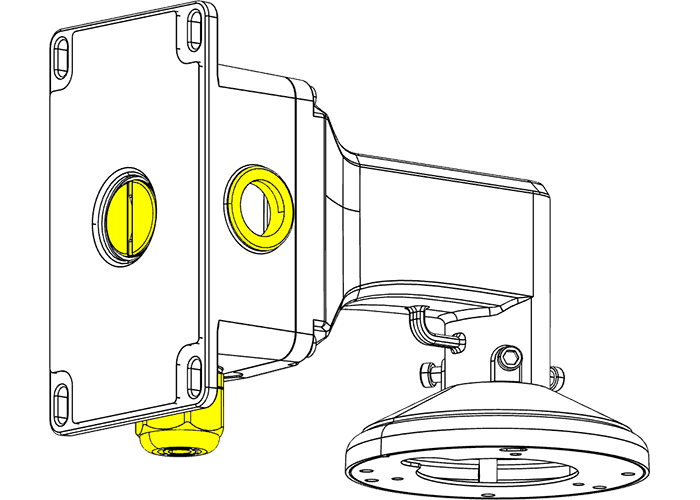
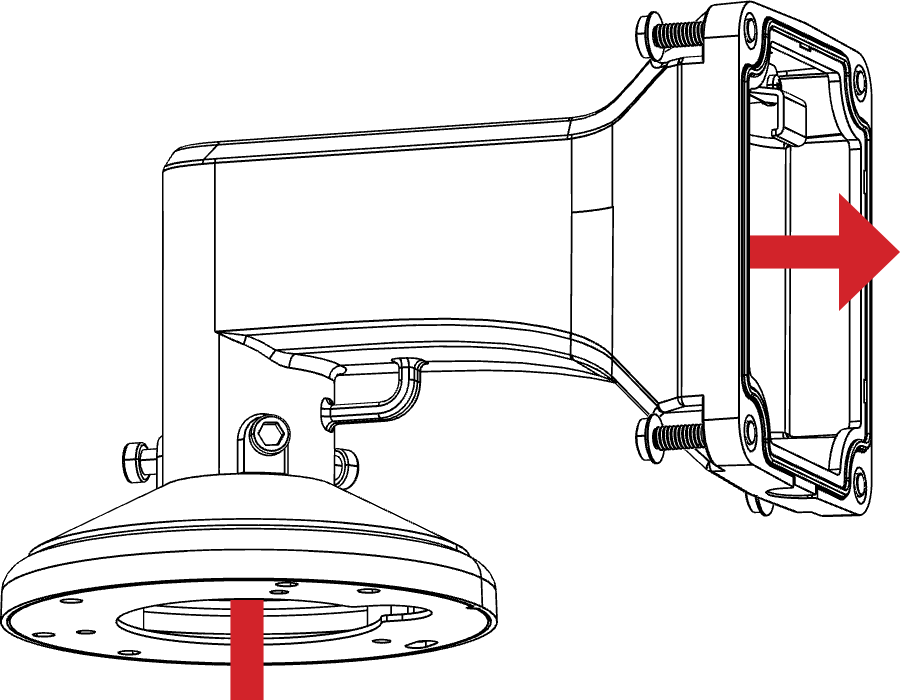
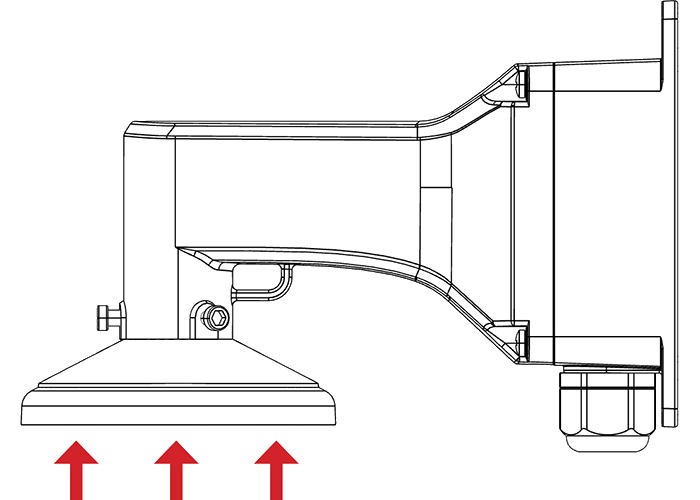
WMBJB contents

  • arm mount / junction box combo

  • adhesive mounting template

  • 4 × wall anchors with screws

  • 3 × hex-cap machine screws (preinstalled)

Loosen the arm screws

Loosen the lid screws (shown in yellow) fully. Loosen (but do not remove) the screws.

Remove the door

Lift the door to remove it.

You can hang the door's hook over the junction box bar (both shown in yellow) as you work on the installation.

Prepare the junction box

Based on your installation needs, adjust the positions of the cable plugs and the cable conduit.

Prepare the surface

For on-wall installs, use the template as a guide to drill pilot holes (and a cable hole if needed).

Insert all four plastic wall anchors.

Mount the junction box

Thread the cable through the appropriate cable conduit.

Secure the WMBJB on the wall or mounting bracket using the screws. The shape of the holes in the WMBJB allows for adjustment before final tightening.

Thread the wires

Thread the tail from the camera through the arm. To make this easier, space the ends of the wires out so they're not bunched up, then wrap them in electrical tape so they slide through the arm more easily.

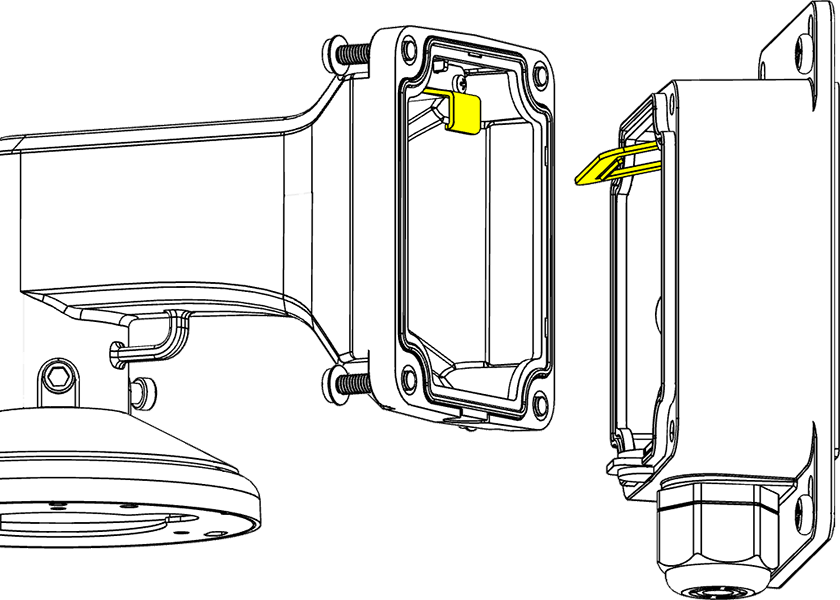
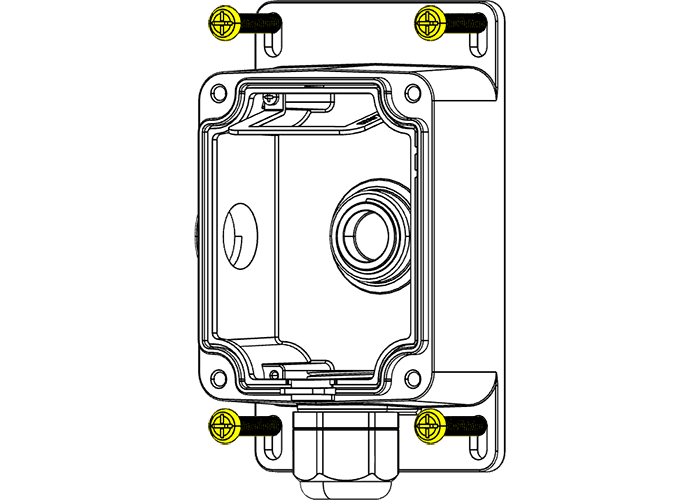
Connect the cables in the tail. Wrap any unused cables.

Attach the camera

Attach the camera to the arm.

Attach the arm

Secure the arm and camera to the junction box with the screws.

Waterproof around the bracket where it meets the wall. Waterproof around the seam between the camera and the arm.

Not Needed

Waterproof around the bracket where it meets the wall. Waterproof around the seam between the camera and the arm.