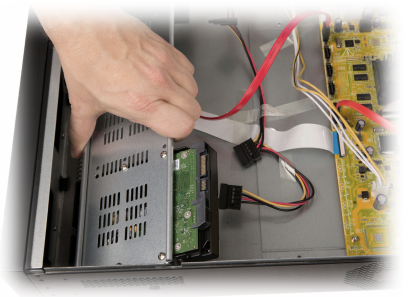
Connect the hard drives
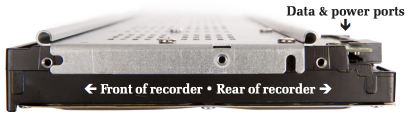
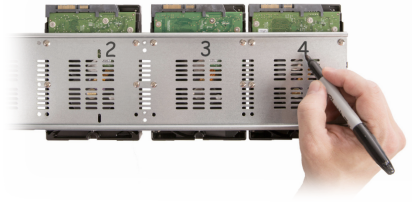
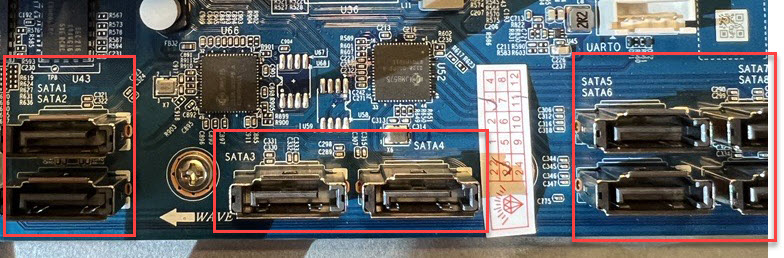
Use the extra SATA cables provided with the recorder to connect each hard drive to the mother board in the correct order. Looking at the recorder from the front of the unit, the SATA ports are labeled SATA1, SATA2, etc., from left to right.
Once the SATA cables are connected, attach the power cable to each hard drive. Unlike the SATA cables, the power cable jumpers have no fixed order.