Best practices for surveillance
“I don’t want to read all this—that’s why I’m calling you!" —name withheld
This technician made a choice. He could have read this page; instead he chose to spend time on hold with Technical Support. Make the better choice.
Plan carefully...
Every surveillance system is unique, but there are several foundational concepts that can make a surveillance system better.
Calculate PoE properly
When calculating PoE, use each camera's maximum PoE consumption, not average, and leave an additional 15% headroom. See PoE Specs & Planning for specifics on Luma x20 cameras and NVRs.
Choose the correct camera
Use the best device for the situation.
-
Bullet: Bullet cameras are best suited for detailed surveillance at a distance. For example, a bullet mounted on a building can focus on a gate on the far side of the parking lot.
-
Dome: These are best suited for watching over a wide area.
-
Turret: These are a budget-conscious alternative to bullet cameras. While cheaper, they are also more vulnerable to sabotage.
-
PTZ: Since the PTZ allows for smart tracking and auto-tracking, the PTZ is best for large areas with comparatively low traffic.
-
Fisheye/Doorbell: These are perfect for close-up surveillance, placement in confined areas like supply closets, and monitoring POS systems. They generate a very distorted image (which can be cleaned up with the proper viewing system). The Luma x20 Fisheye camera performs best with the x21 and high-capacity Luma x20 NVR series.
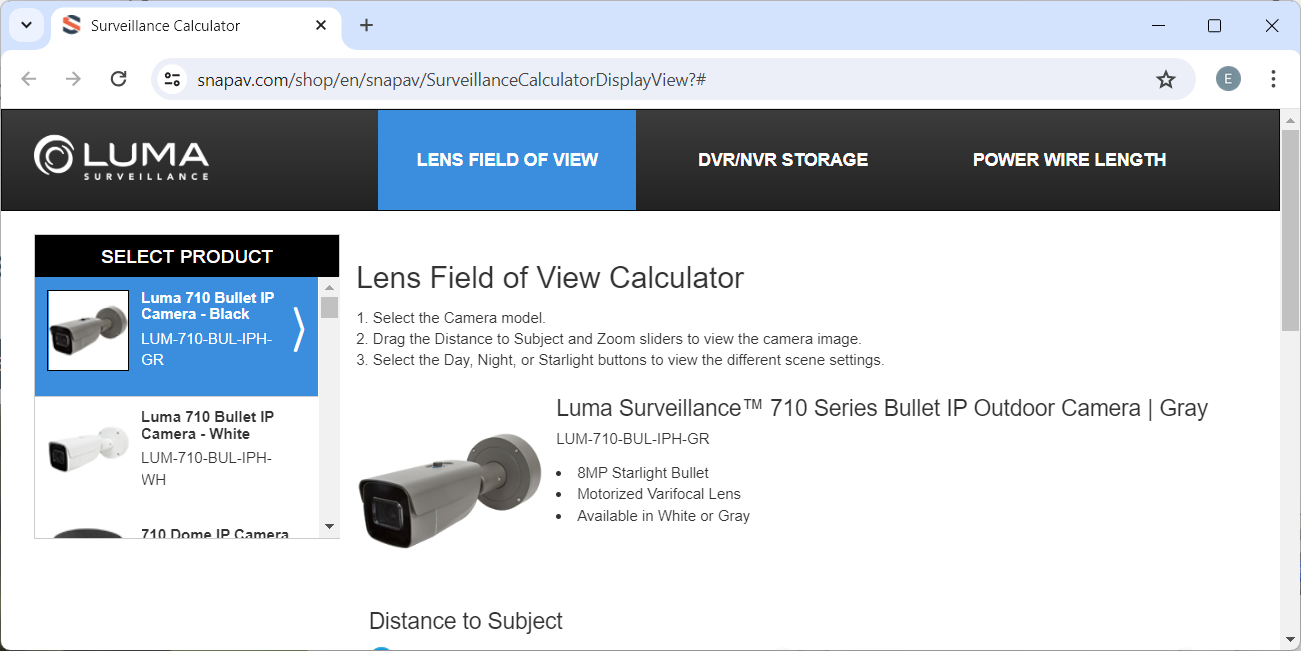
For a good approximation of field of view, see our Lens Field of View Calculator for the x10 camera series (login required).
Calculate the disk space required
Seagate has an excellent calculator to determine how much HDD space you need.
Stage and test the system
Stage the entire install on a table. Plug each camera into the NVR first with a short patch cable. Update firmware, customize settings, and ensure the cameras and customizations work before hauling everything up a ladder.
Use OvrC to simplify testing
For remote viewing through the Luma View app, surveillance traffic more than 20Mbps can cause issues.
At the very least, ensure that you claim all cameras in OvrC. If you don't use OvrC, you're making it hard on yourself; it can do almost everything that the web and local interfaces can do, and a few things they can't.
Don't change the OvrC passwords
While it may be tempting to change the OvrC passwords, doing so only makes it hard for yourself. They are secure passwords hidden behind a secure OvrC login. They are easily copied and pasted to grant access to whichever device you need.
Click here to read more about passwords and OvrC integration.
Execute properly...
Save time in the field by protecting yourself against simple mechanical failures.
Wires
For category cables:
-
Do not use EZ RJ-45 connectors when terminating cable. While they are simpler to use, our experience is that cables using these fail much more often.
-
Test each cable run before installing the cameras.
-
Add maintenance loops to all wire runs.
-
Add drip loops to all outdoor cameras.
For power wires:
-
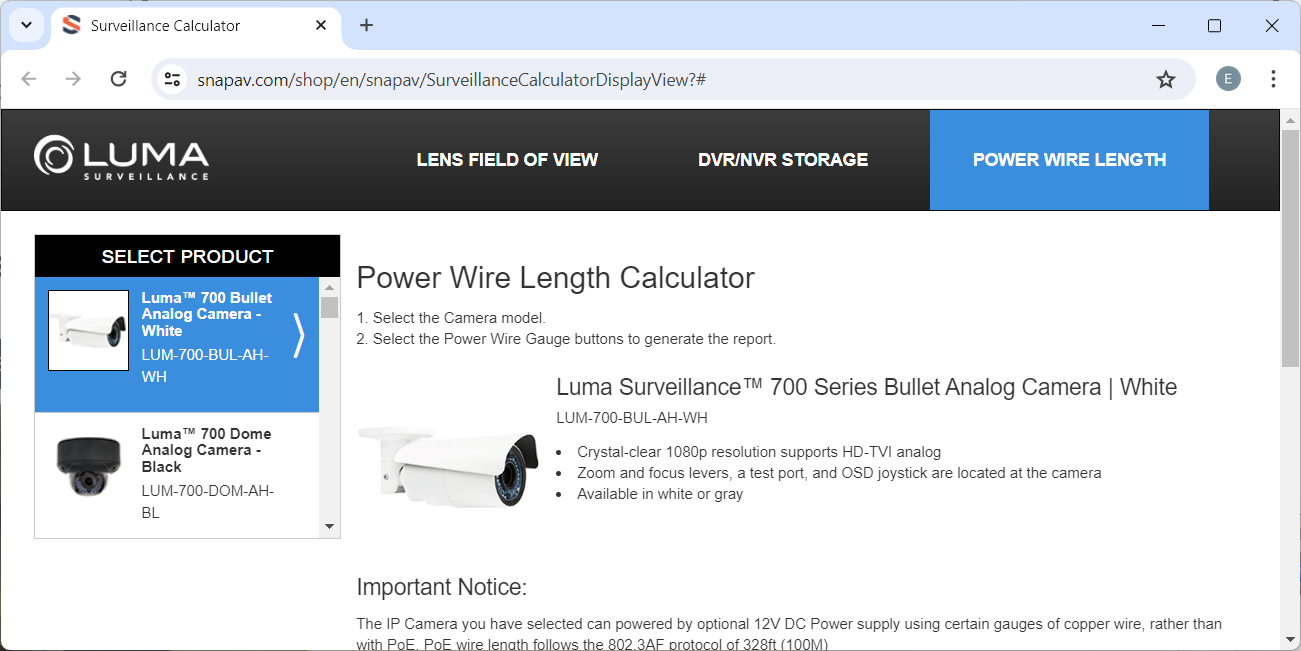
Determine the maximum length of each power wire (based on wire gauge and the camera's power consumption) by using this x10 calculator, selecting the third tab, and finding a camera with a comparable power draw.
See our WattBox best practices for more regarding power.
Network
The effectiveness of a surveillance system depends on having a great network backbone.
-
Use DHCP with MAC reservations. This ensures that the system remains robust even if there is a power outage, or the ISP changes their addressing system.
-
Do not change the NVR's HTTP port away from port 80 if you plan to use OvrC. Changing the port hobbles OvrC's abilities.
-
Connect cameras directly to the NVR whenever possible. This drastically reduces the amount of traffic the network must bear. Category cables can be up to 100m /325' long.
-
Do not connect a switch to a camera port on the NVR. This does not expand the NVR's capacity, Instead, the NVR gives the same IP address to all cameras attached to that switch, which results in very unpredictable network behavior.
-
Avoid using a wireless bridge. While a wireless bridge to an outlying building is fine for surfing the web, it can't handle the high traffic that surveillance generates. Wherever possible, use a wired connection.
Learn about building a great network in our Professional Certified Network Administrator (PCNA) course here.
VLANs
Setting up a VLAN is overkill for most small business and residential installs. If the system has a small to moderate amount of cameras and high-quality networking gear (like Araknis or Access Networks), it will generally be fine.
There are a few times when a VLAN is necessary:
-
Privacy:To keep surveillance traffic hidden from specific users (e.g., staff vs. patrons).
-
Size: The site is running a huge network, for example one with several subnets.
-
Load: The network is also running another application that requires a lot of traffic (MoIP, for example).
Install the camera properly
Do not mount on a metal surface. If it absolutely cannot be avoided, mount the camera onto a non-conductive block that is mounted to the metal. If you mount a camera directly to a conductive metal surface, it interferes with the image.
Don't forget about cleaning. Every camera need periodic cleaning for best performance; make it as easy to clean as possible. Dome cameras are especially vulnerable to IR bounceback from dirty glass.
Cameras also have their own requirements:
-
Bullet: Since bullet cameras are highly susceptible to vandalism (by being redirected), keep them at least 10 feet off the ground whenever possible. Adjust the shade to keep sunlight off the camera body as much as possible.
-
Dome: Do not remove the foam from around the lens of the dome camera. The foam is designed to seal against the inside of the dome, which prevents the camera's infrared lights from bouncing into the camera lens causing IR flare. Likewise, do not rotate the foam to cover the camera's light sensor.
-
PTZ: For best tracking performance, mount the PTZ at least 15 feet off the ground with a wide field of view.
-
Doorbell: Mount at mid-torso height. Place it to avoid exposure to direct sunlight as much as possible. Ensure that WDR is enabled.
-
Fisheye: With its all-around field of view, place it as centrally as possible. When installing, test it using a temporary placement whenever possible: do not fully install it until you are comfortable with its performance.
Nighttime surveillance considerations
Nighttime surveillance is always a challenge. Ensure you understand the choices when it comes to illuminating nighttime images.
-
Infrared uses light from below the visible spectrum to create a black-and-white image, typically with lower detail due to the long wavelength of infrared light.
-
Color at night has enhanced ability to detect color in low-light conditions, in part by using a built-in lamp. The lamp is a visible white light that glows continuously; it is not triggered by motion detection. Cameras with color at night are best suited for urban areas that have a decent amount of ambient light (from streetlights, etc.) even in the small hours of the morning.
IR reflection
When placing a camera for nighttime (infrared) work, be careful that soffits, walls, or other obstructions are not too near the camera. These can reflect infrared light and wash out the image.
If possible, use a temporary mount and test its performance at night before finalizing.
Click here for details of common infrared image issues (with photographs) and steps to avoid them.
Wi-Fi issues
When using your phone or a wireless camera, ensure that the device can communicate effectively with the network.
Note: Connect your phone and wireless camera to the 5 GHz wireless band for optimal performance. The 2.4 GHz band is also supported.
|
Performance |
RSSI |
Signal |
Description |
|---|---|---|---|
| Stable (Excellent) | -60 dBm or better | 80% or better | Connection is stable and excellent. Provides optimal performance, suitable for continuous connection and high-quality streaming. |
| Acceptable (Usable) | -61 to -70 dBm | 58% to 79% | Signal strength is sufficient, and general functions operate normally. However, during continuous connection or HD streaming, slight stuttering or delay may occur. |
| Poor (Insufficient) | -71 dBm or worse | 57% or worse | Weak signal and unstable connection causes serious issues. May cause long waiting times or disconnections. |

