Custom Button configuration in OvrC
-
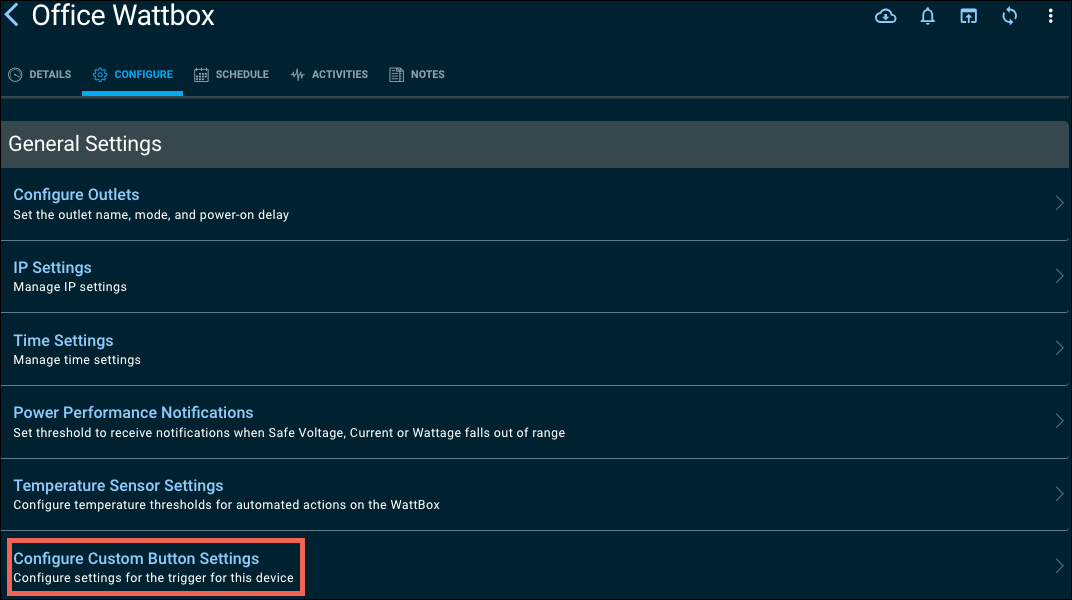
To configure the trigger, open the WattBox’s Configure tab, then click Configure Custom Button Settings.
-
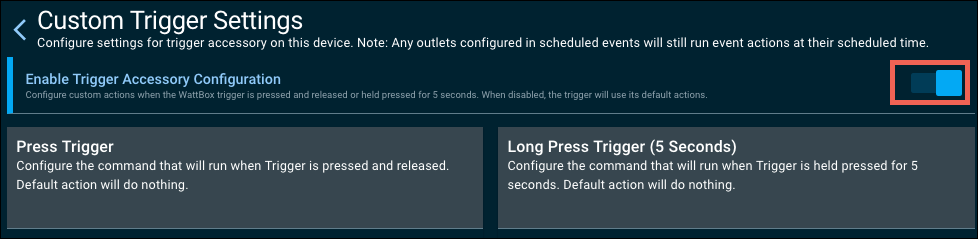
Click the Enable Trigger Accessory Configuration toggle.
-
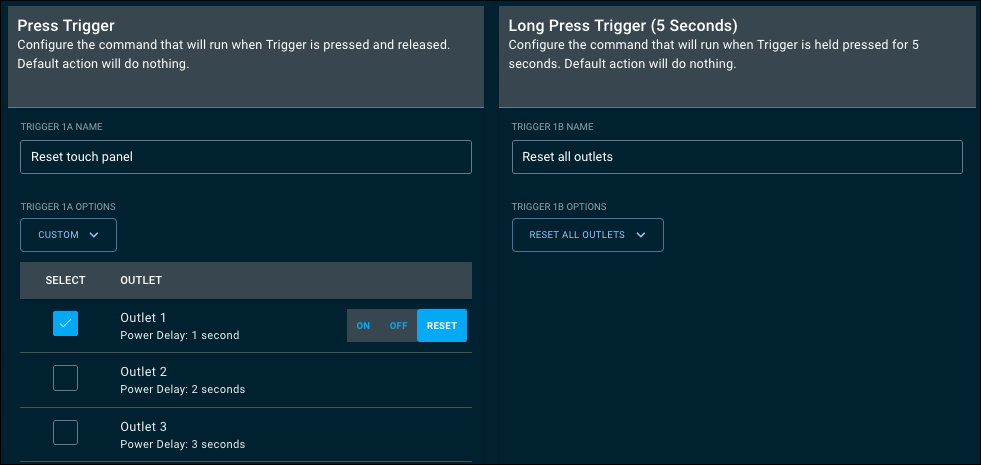
To configure the Press Trigger or Long Press Trigger (5 Seconds) click the Trigger Options drop-down.
Trigger options include:-
Default (Do Nothing)
-
Reset All Outlets
-
Turn On All Outlets
-
Custom (Set an individual outlet to On, Off, or Reset)
-
Note: Each outlet can have a different action.

-
After you’ve configured the Trigger Button, give it a meaningful Name.
-
Use the Trigger Disable Delay to set the amount of time the trigger is disabled after the button is pressed to give the device(s) time to come back online and to verify they’re working. Then click Save.

Note: The affected outlets' longest Power On Delay time is added to the Trigger Disable Delay time.
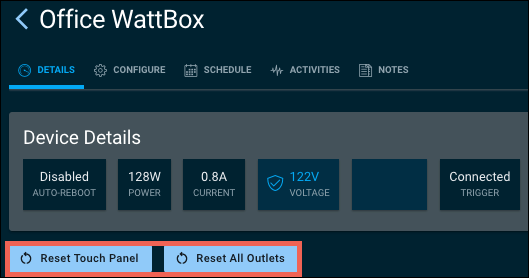
Configured buttons appear on the WattBox’s Details page in OvrC.