Mounting
Mounting on a flat surface
Use the factory-supplied mounting screws and plastic wall anchors to attach the AP to a wall or other flat surface.
-
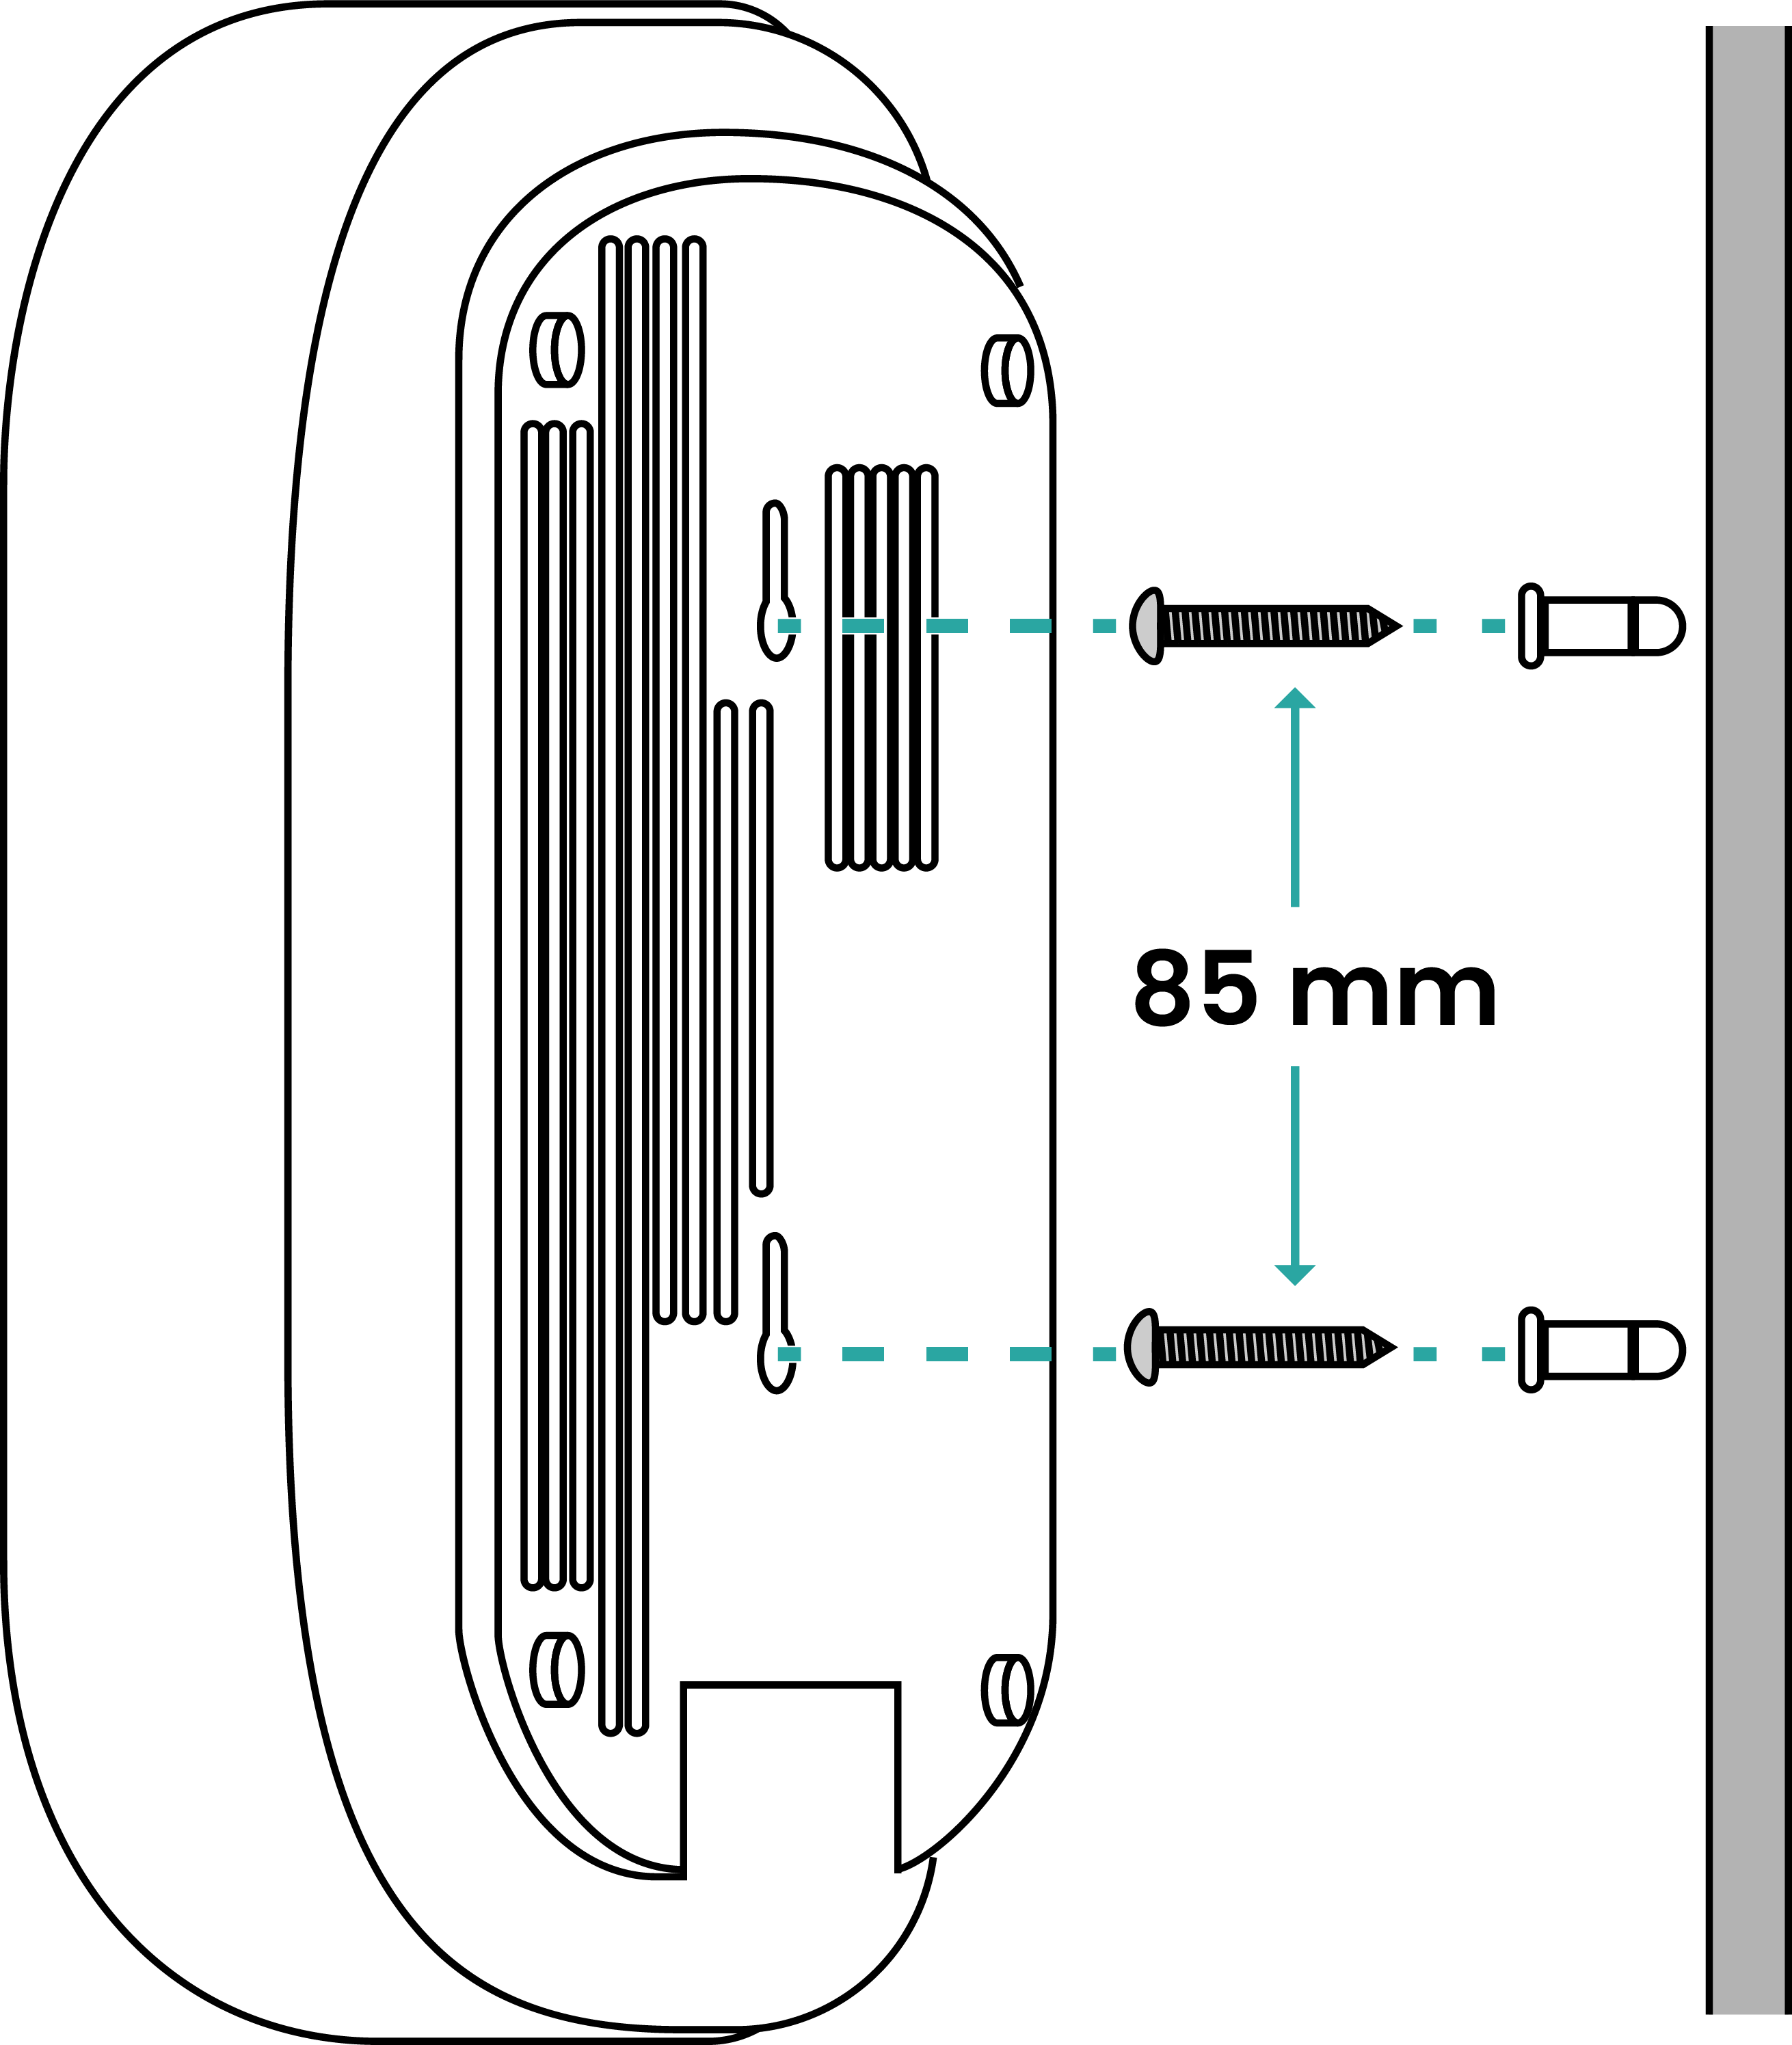
Use the included mounting template to mark the locations for two drill holes on the mounting surface. There's 85 mm (3.35")between the center of the two keyholes.
-
Use a 4.75 mm (3/16") drill bit to drill holes approximately 25 mm (1") deep into the mounting surface.
-
Insert the factory-supplied anchors and mounting screws into the mounting surface, leaving approximately 6 mm (0.25") of the screw heads protruding for the AP enclosure.
-
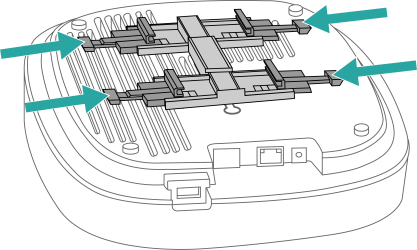
Align the keyholes on the AP enclosure with the mounting screws and place the AP on the screw heads, then push the AP down until the AP retainer tab snaps into place.
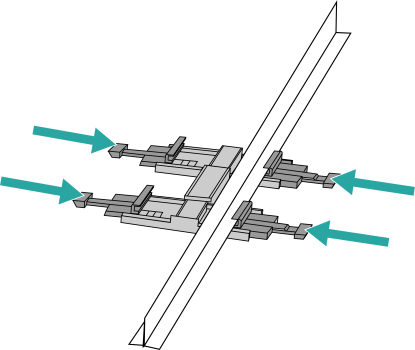
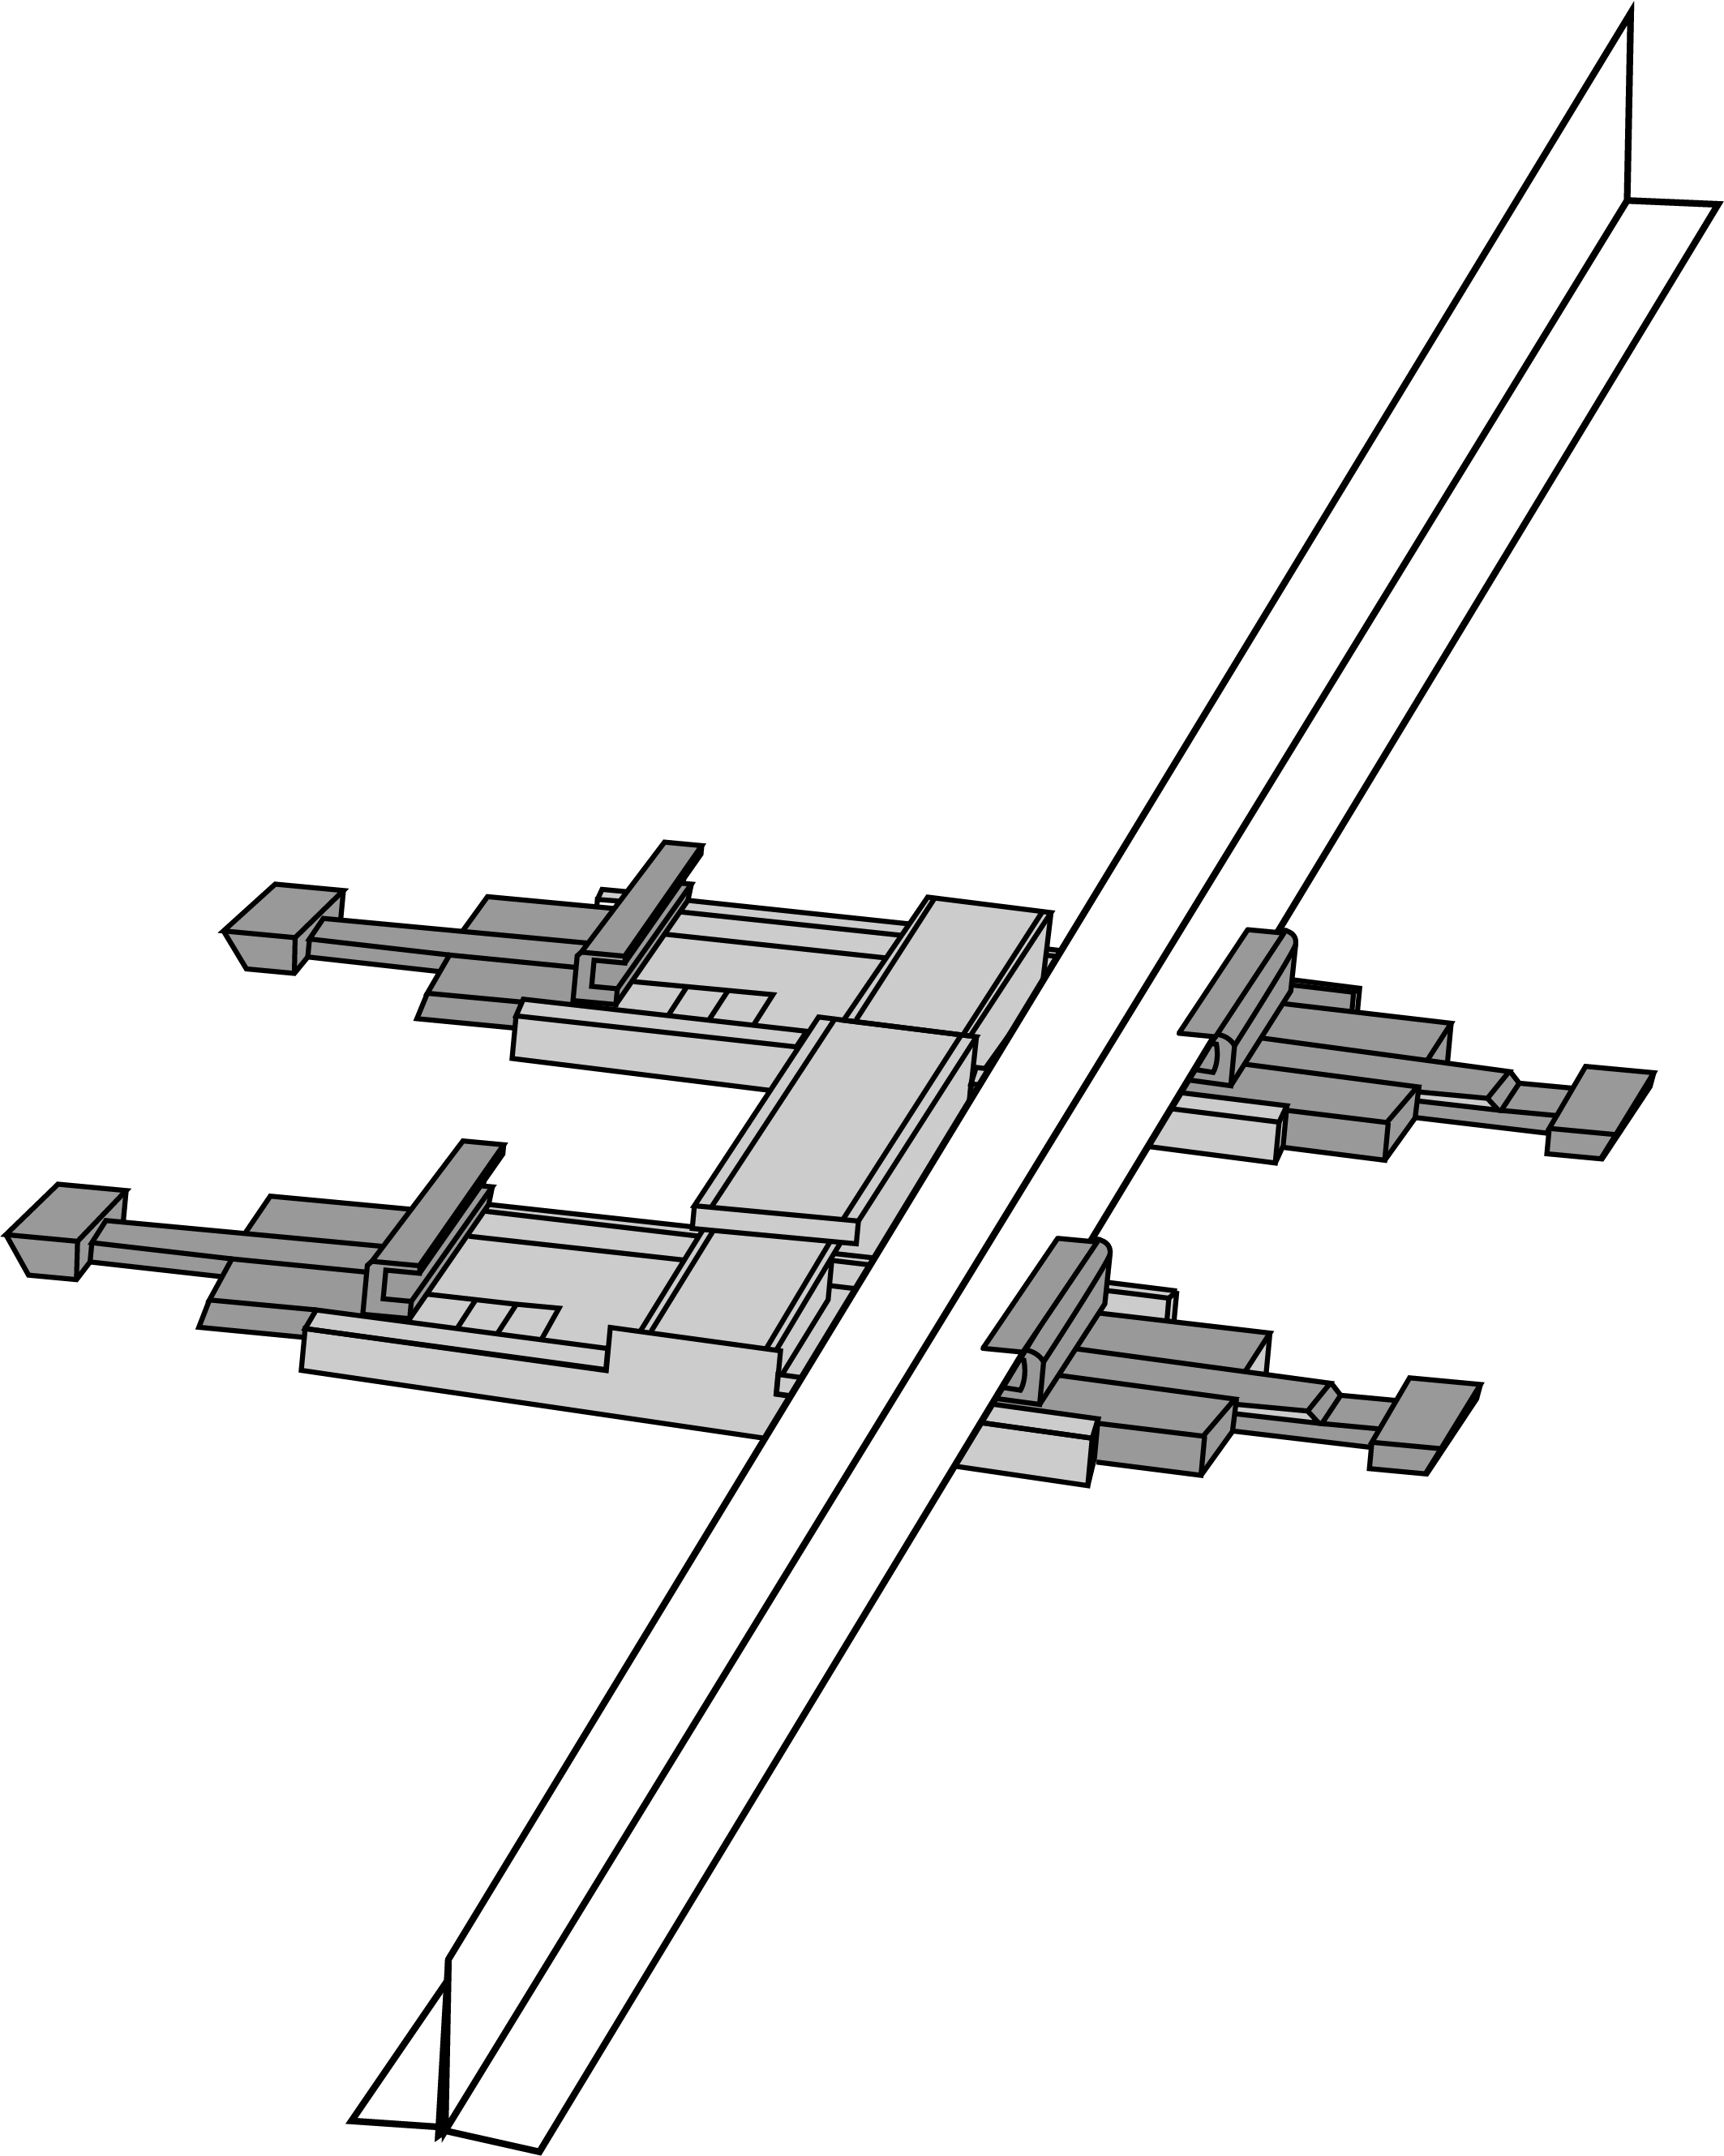
Mounting on a drop-ceiling T-bar
Use the factory-supplied T-bar mounting assembly kit to attach the AP to recessed and flush drop-ceiling T-bars.
-
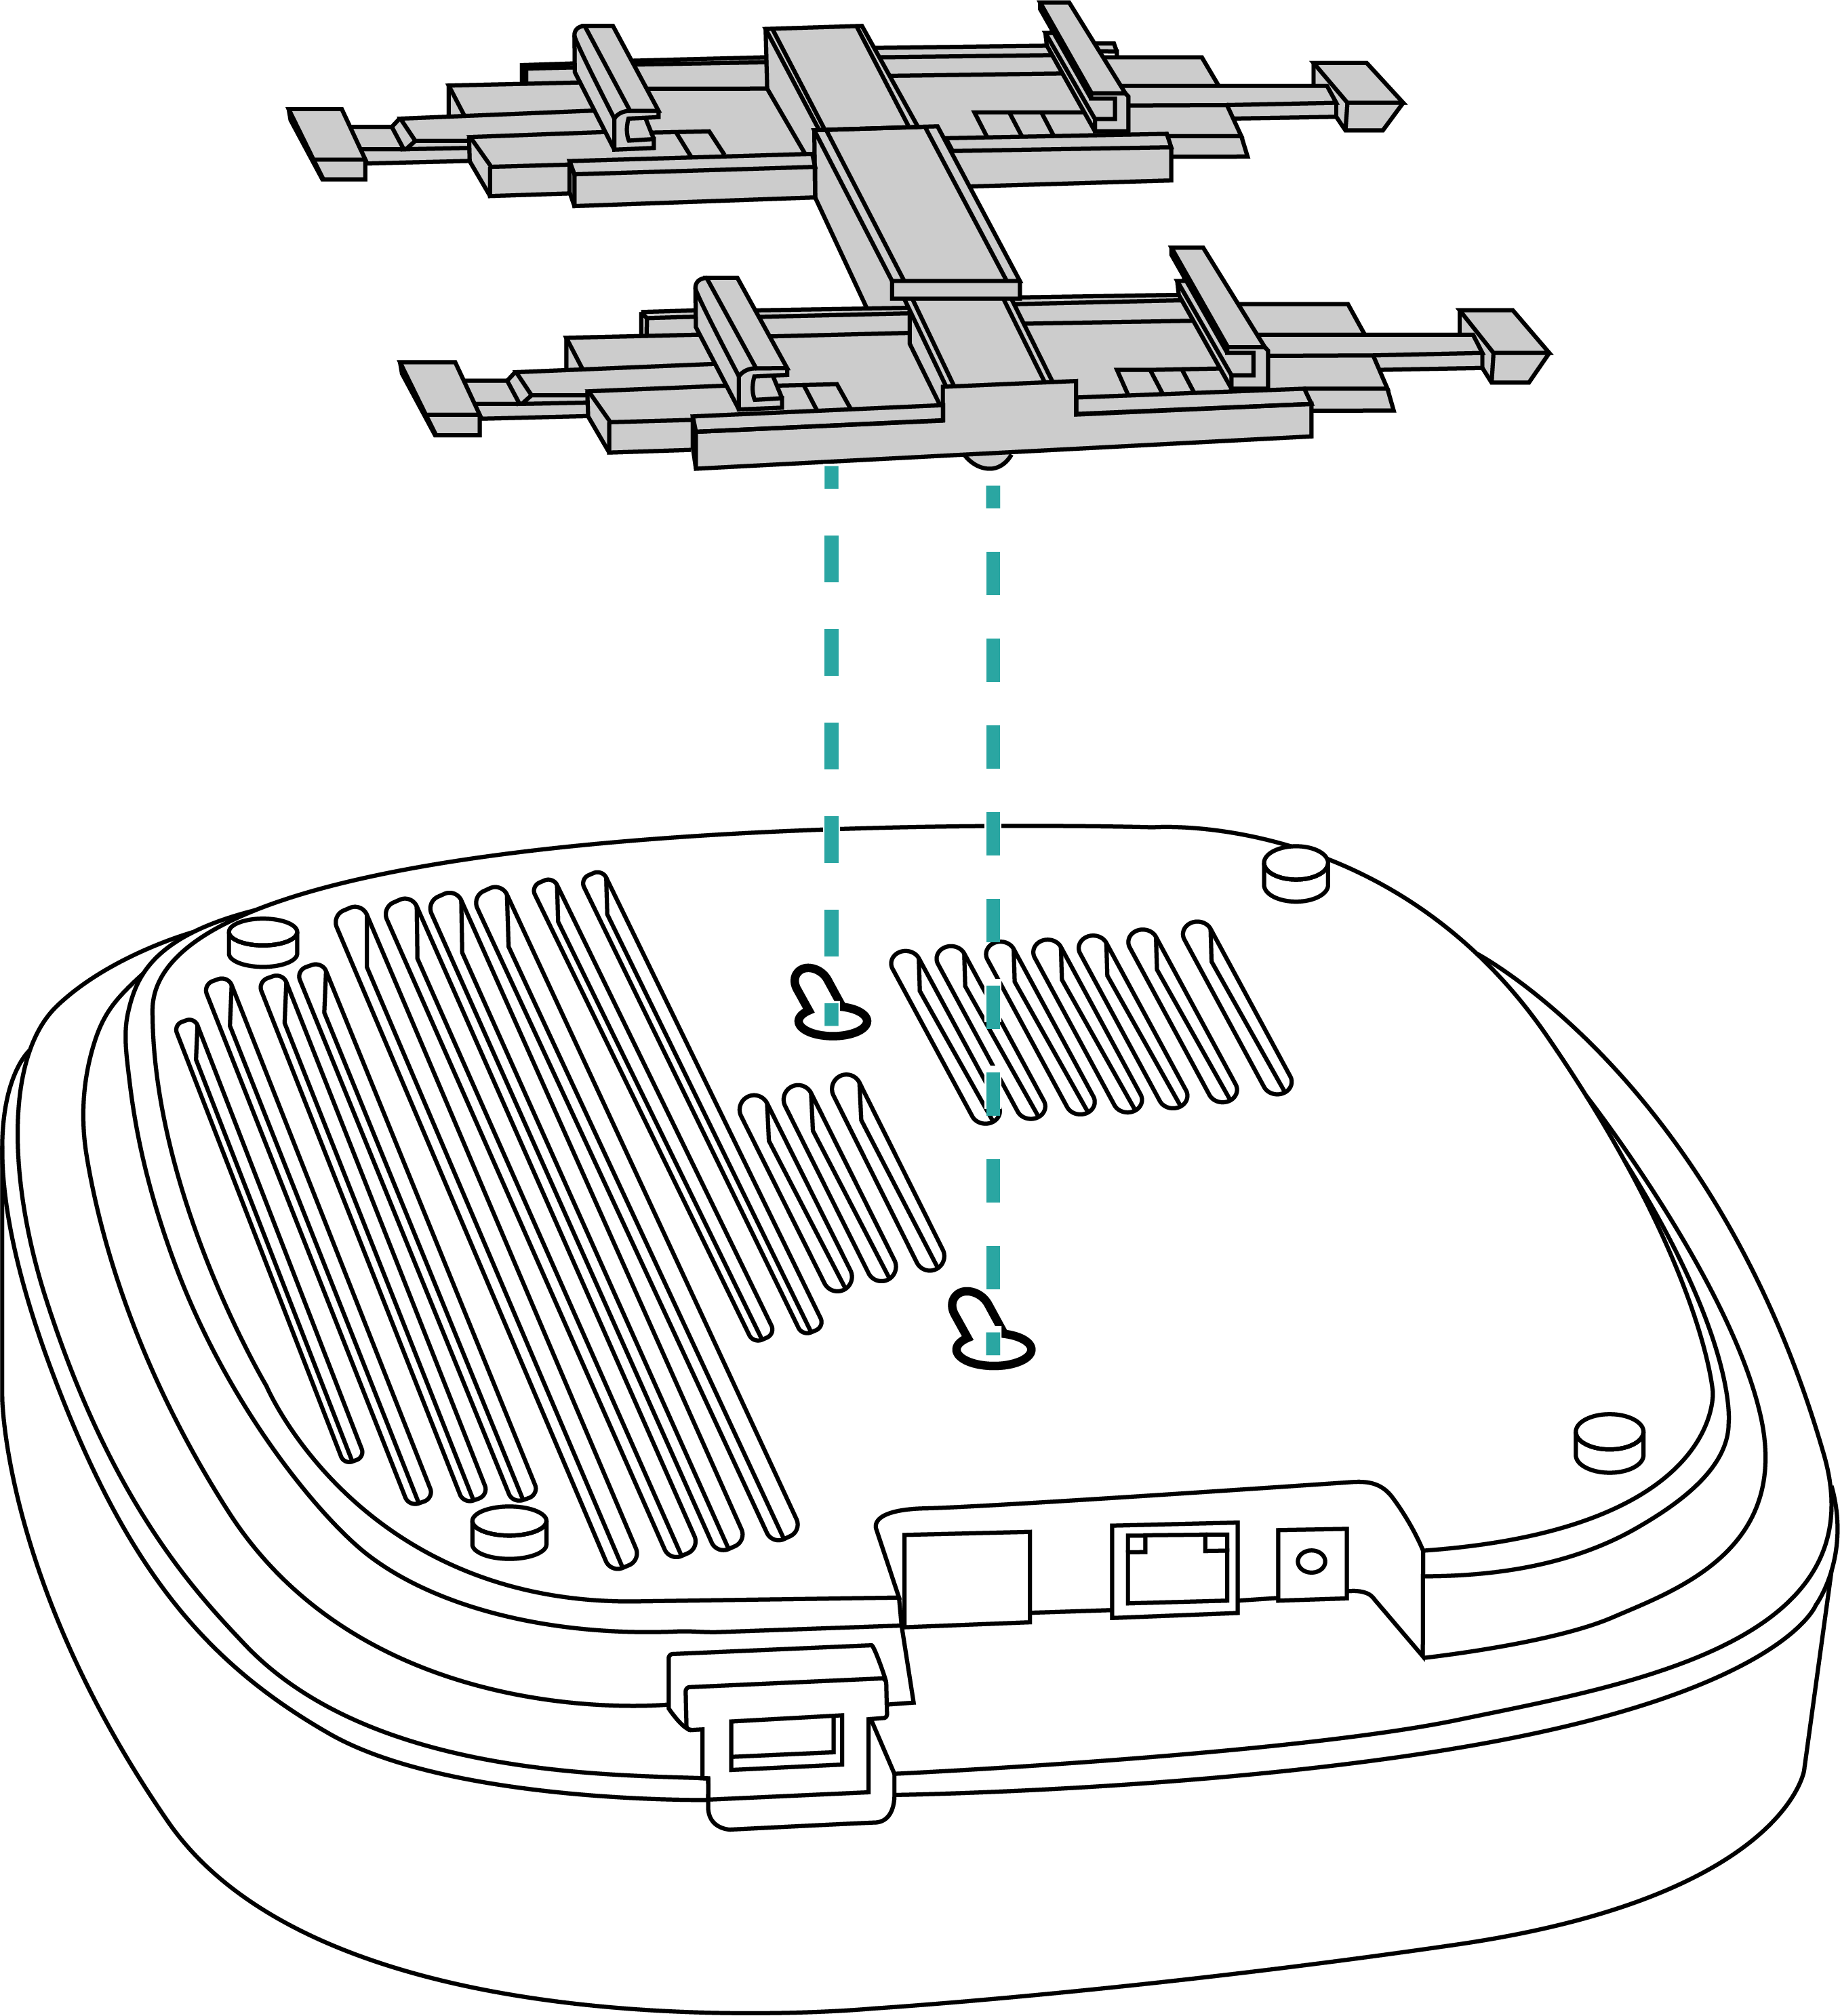
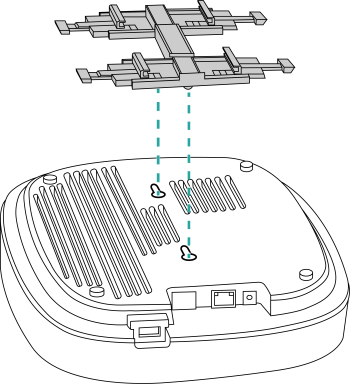
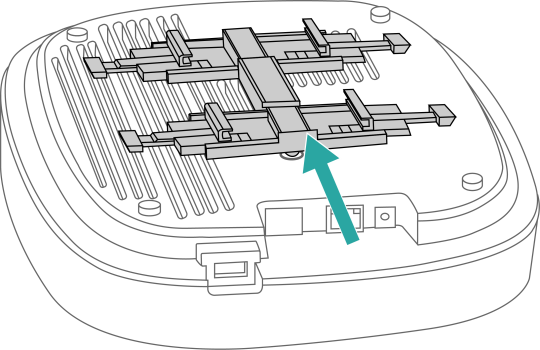
Position the studs on the bottom of the T-bar bracket in the keyholes on the AP enclosure.
-
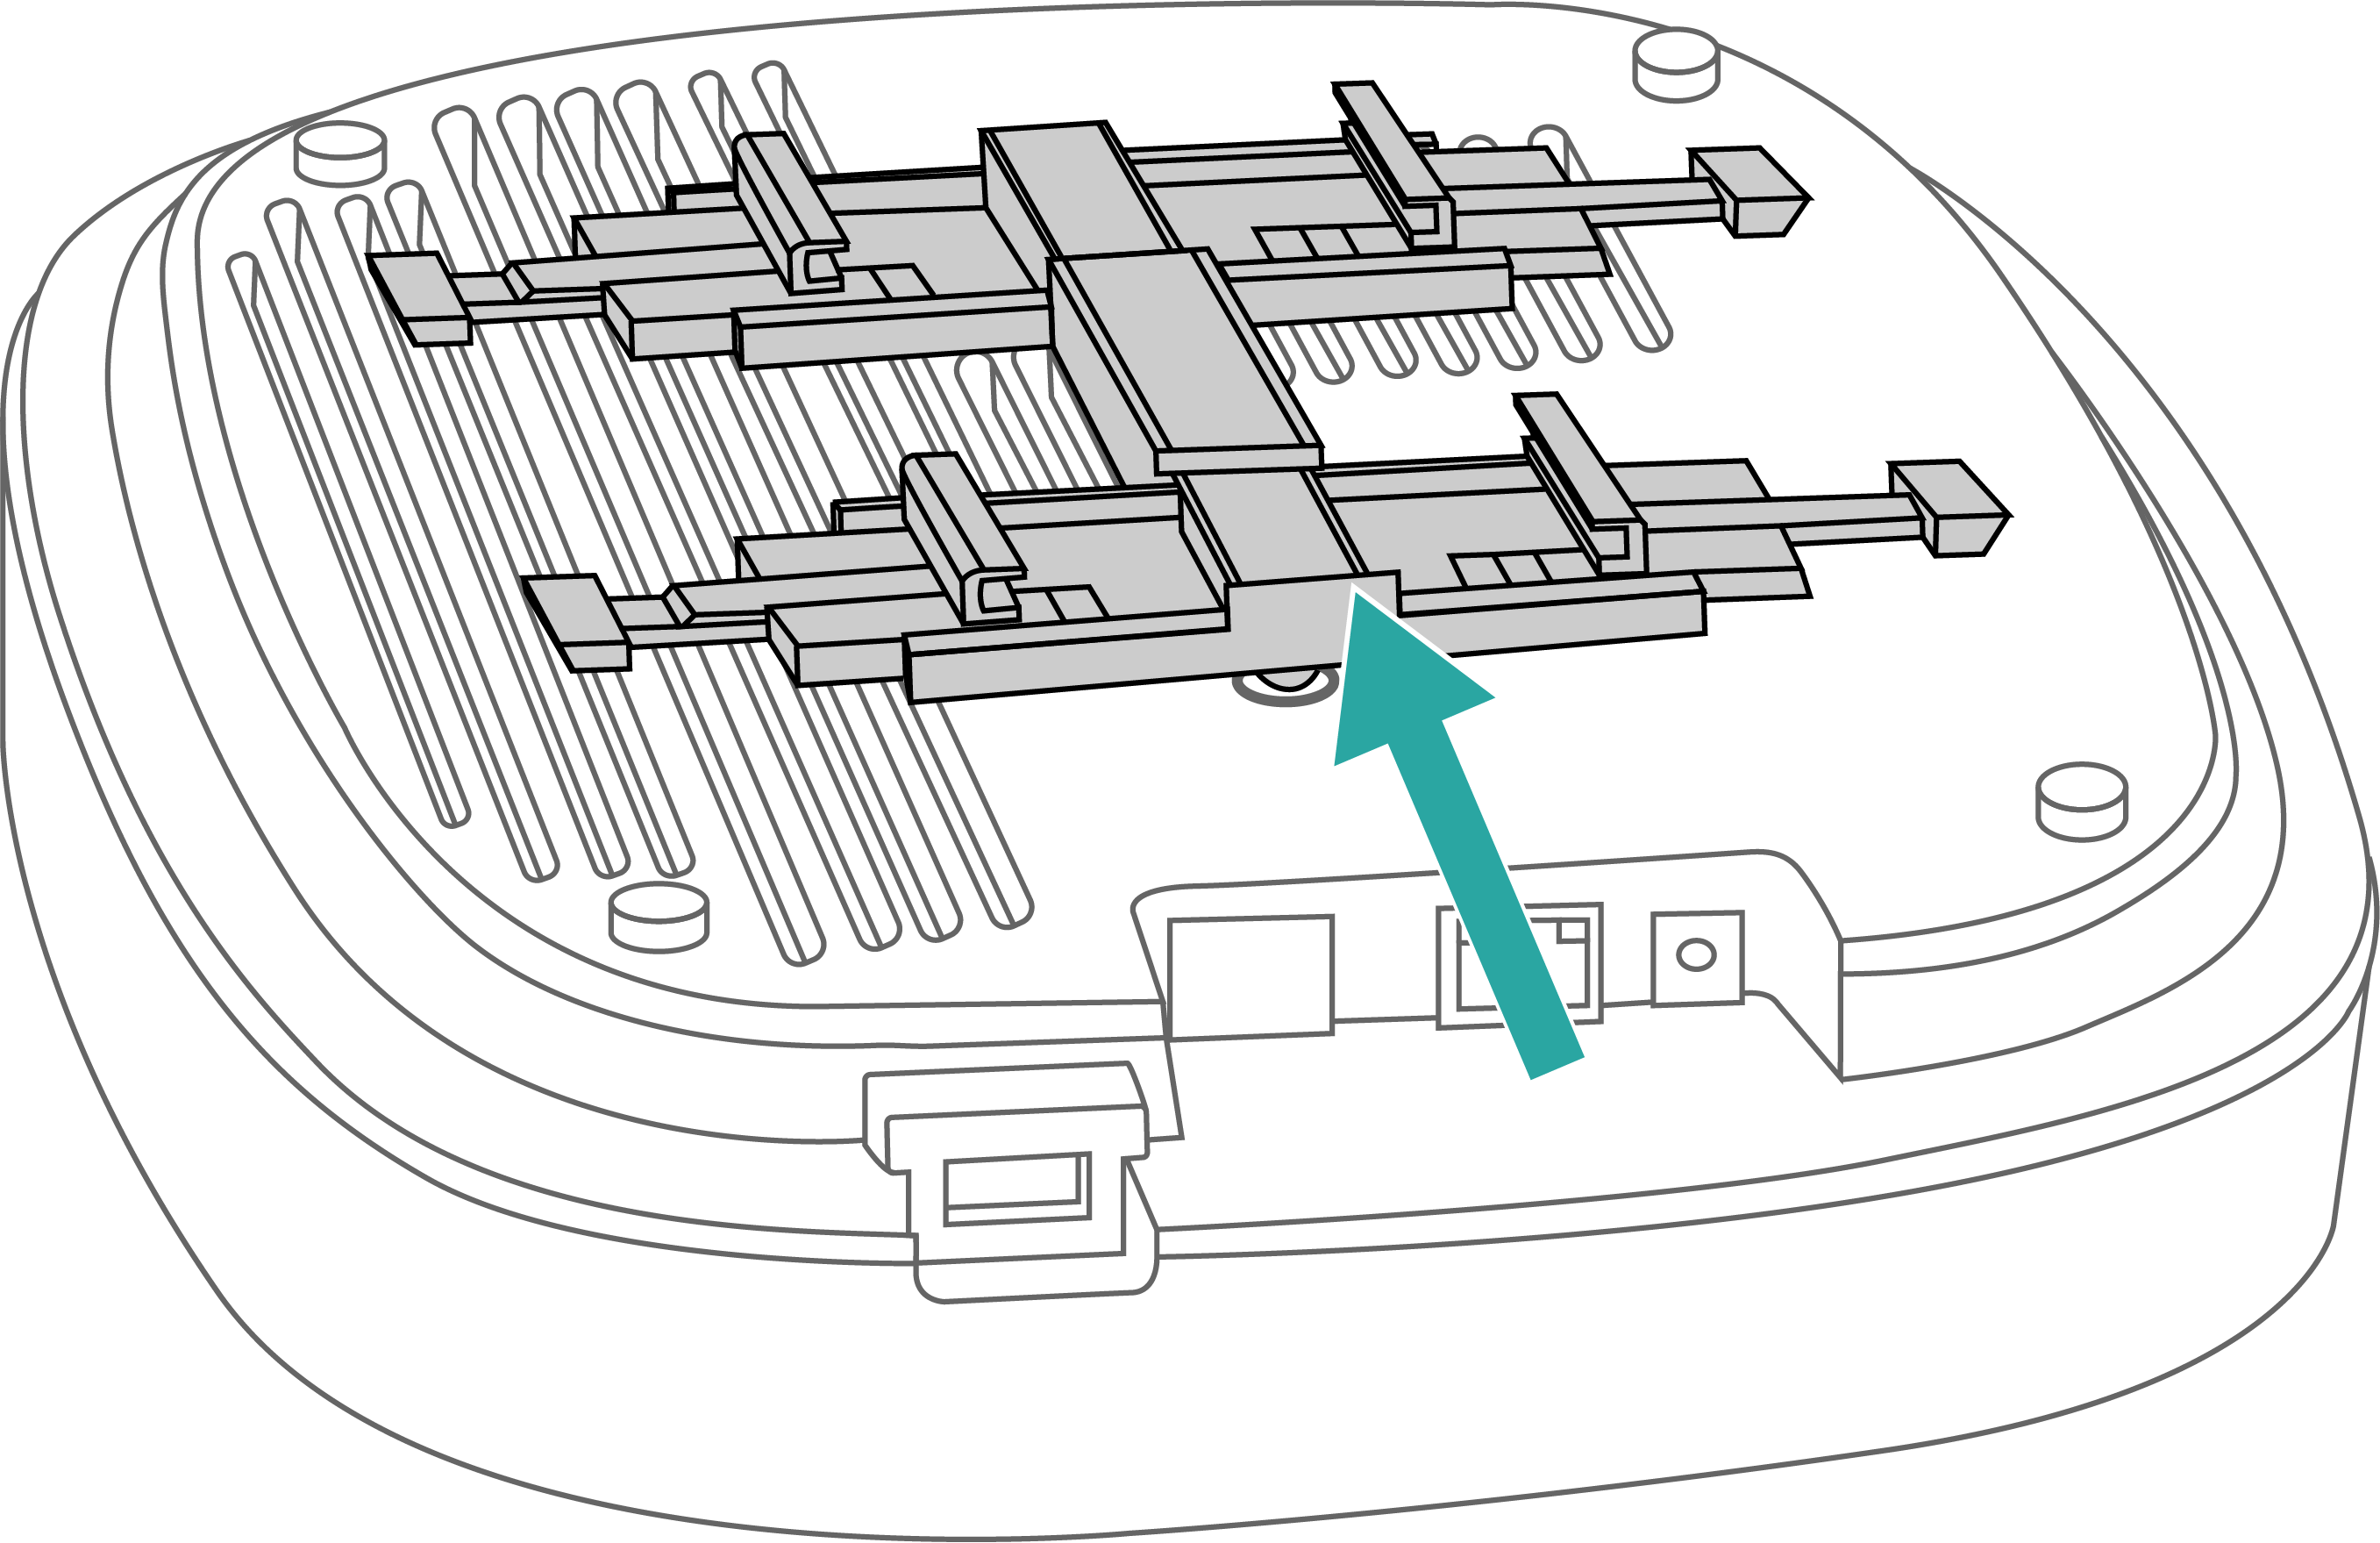
Slide the T-bar bracket away from the Ethernet ports on the bottom of the AP until the AP retainer tab snaps into place, trapping the T-bar bracket studs in the keyholes.
-
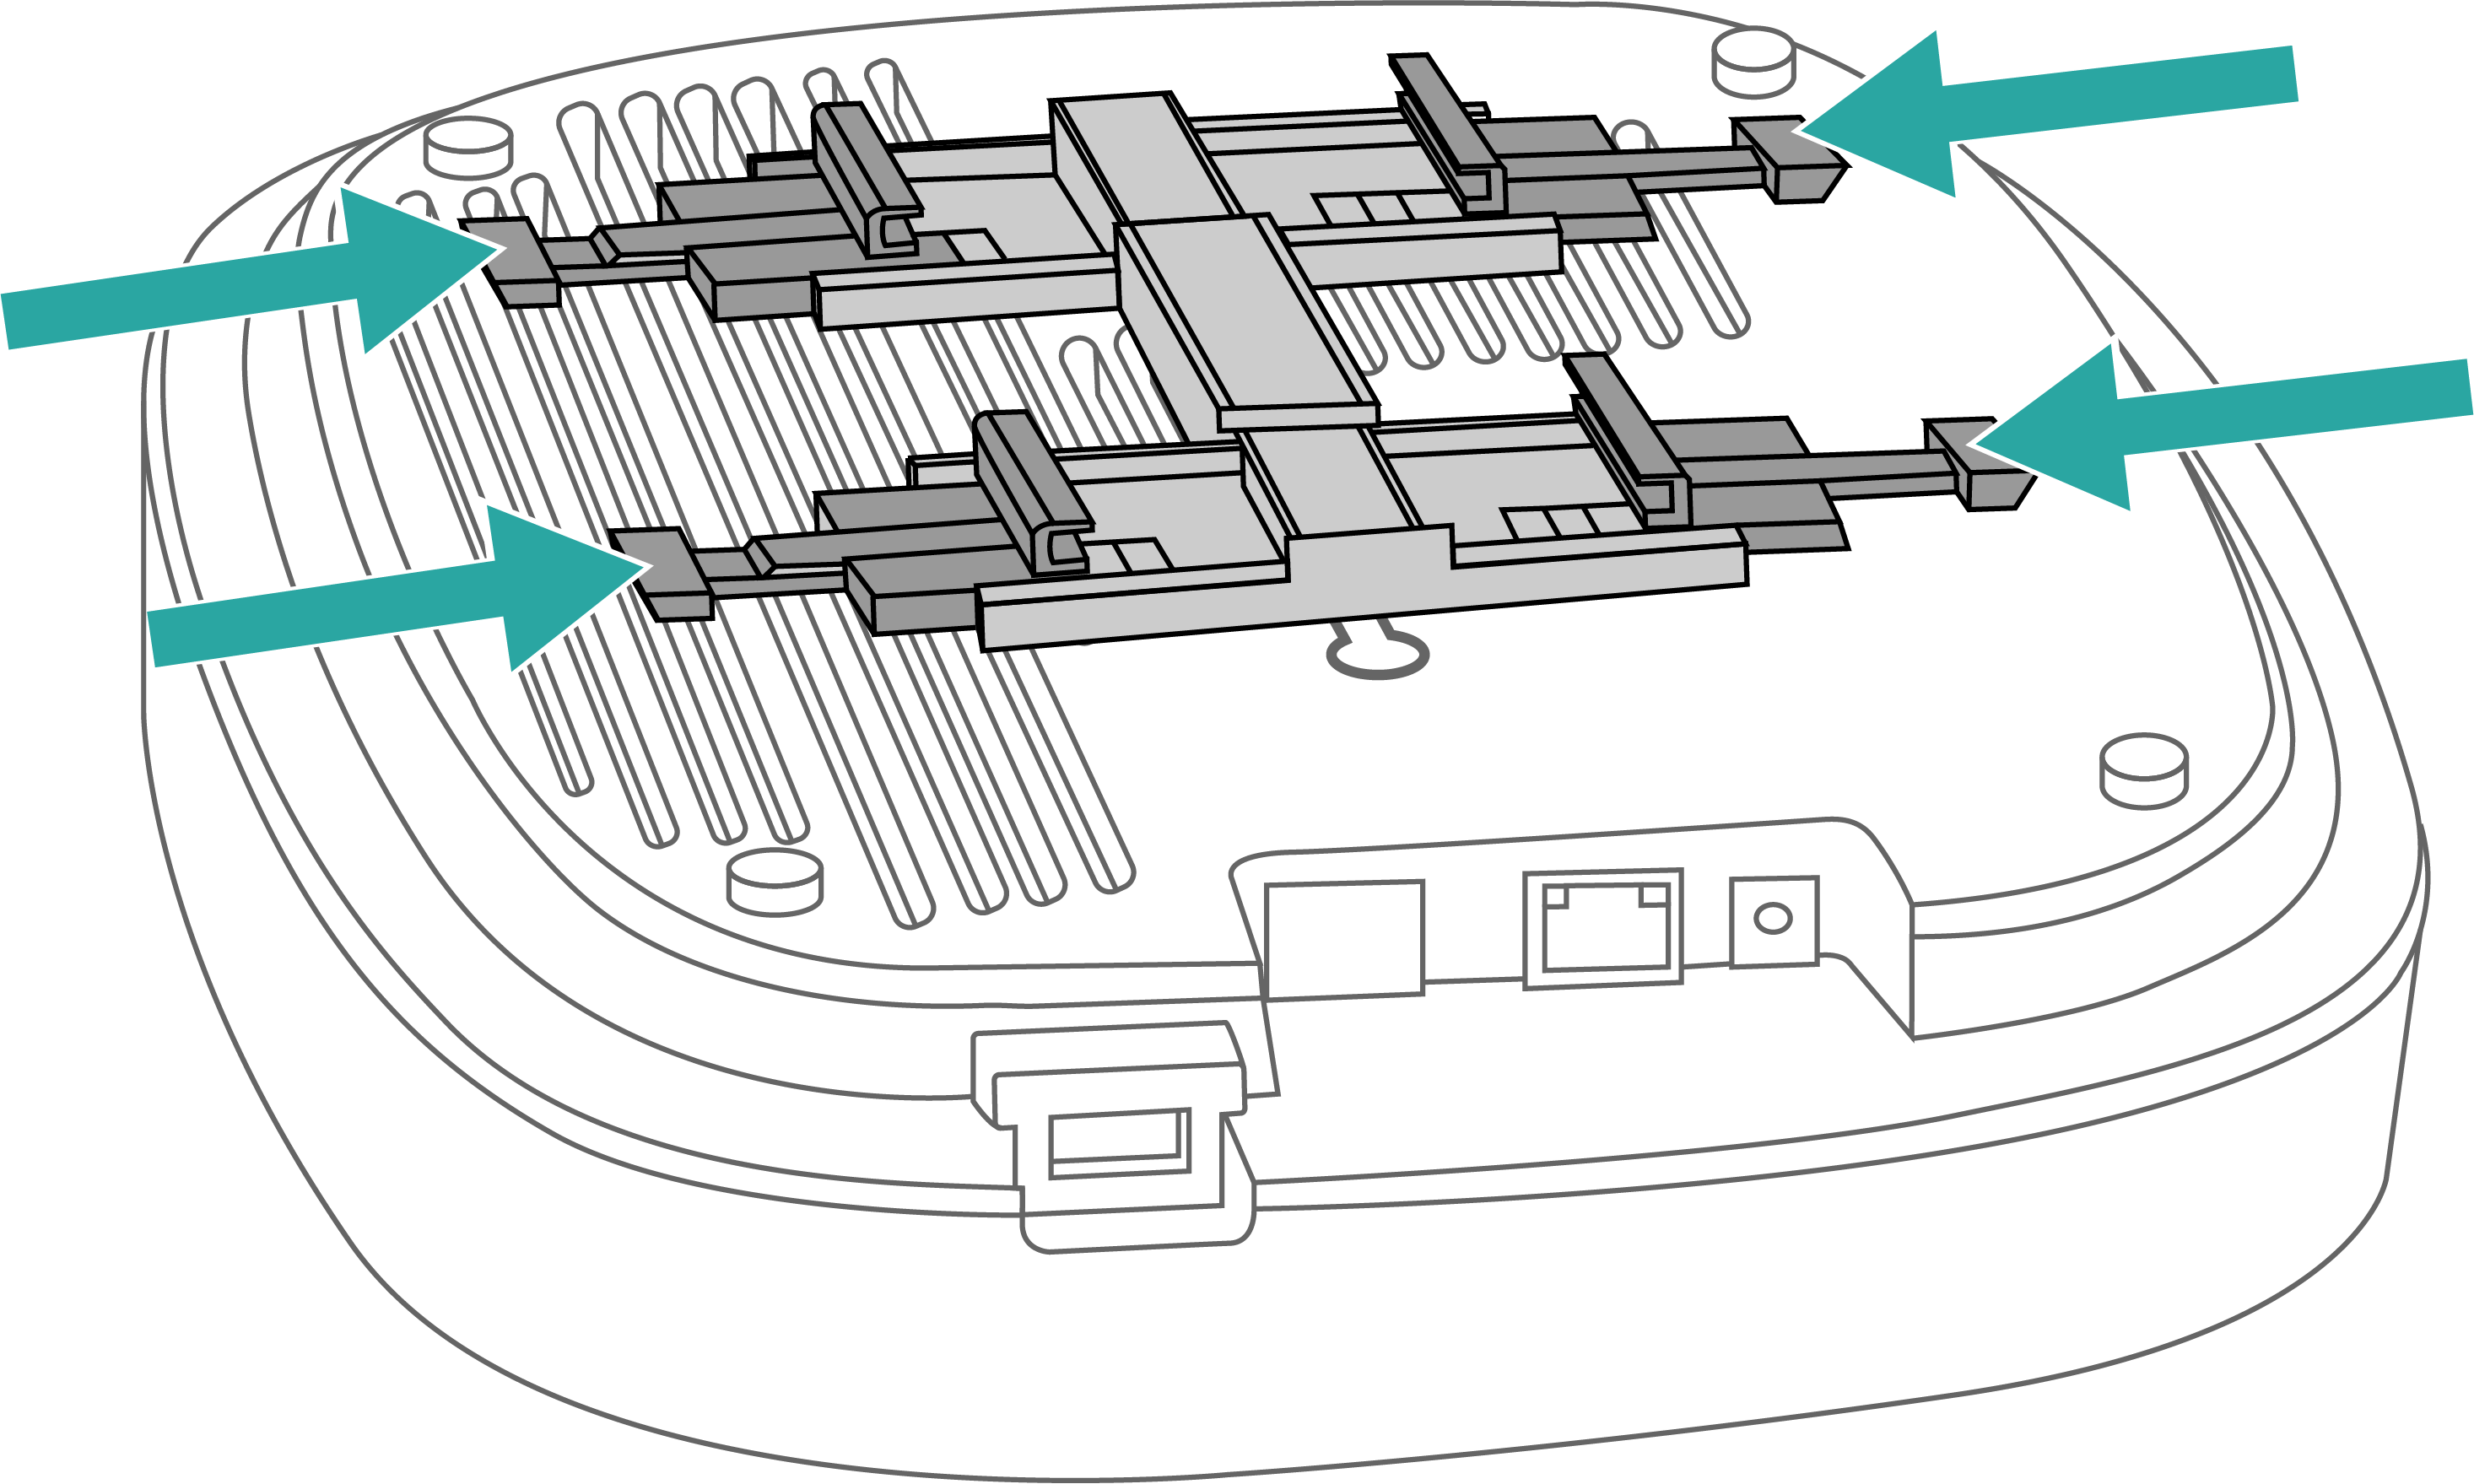
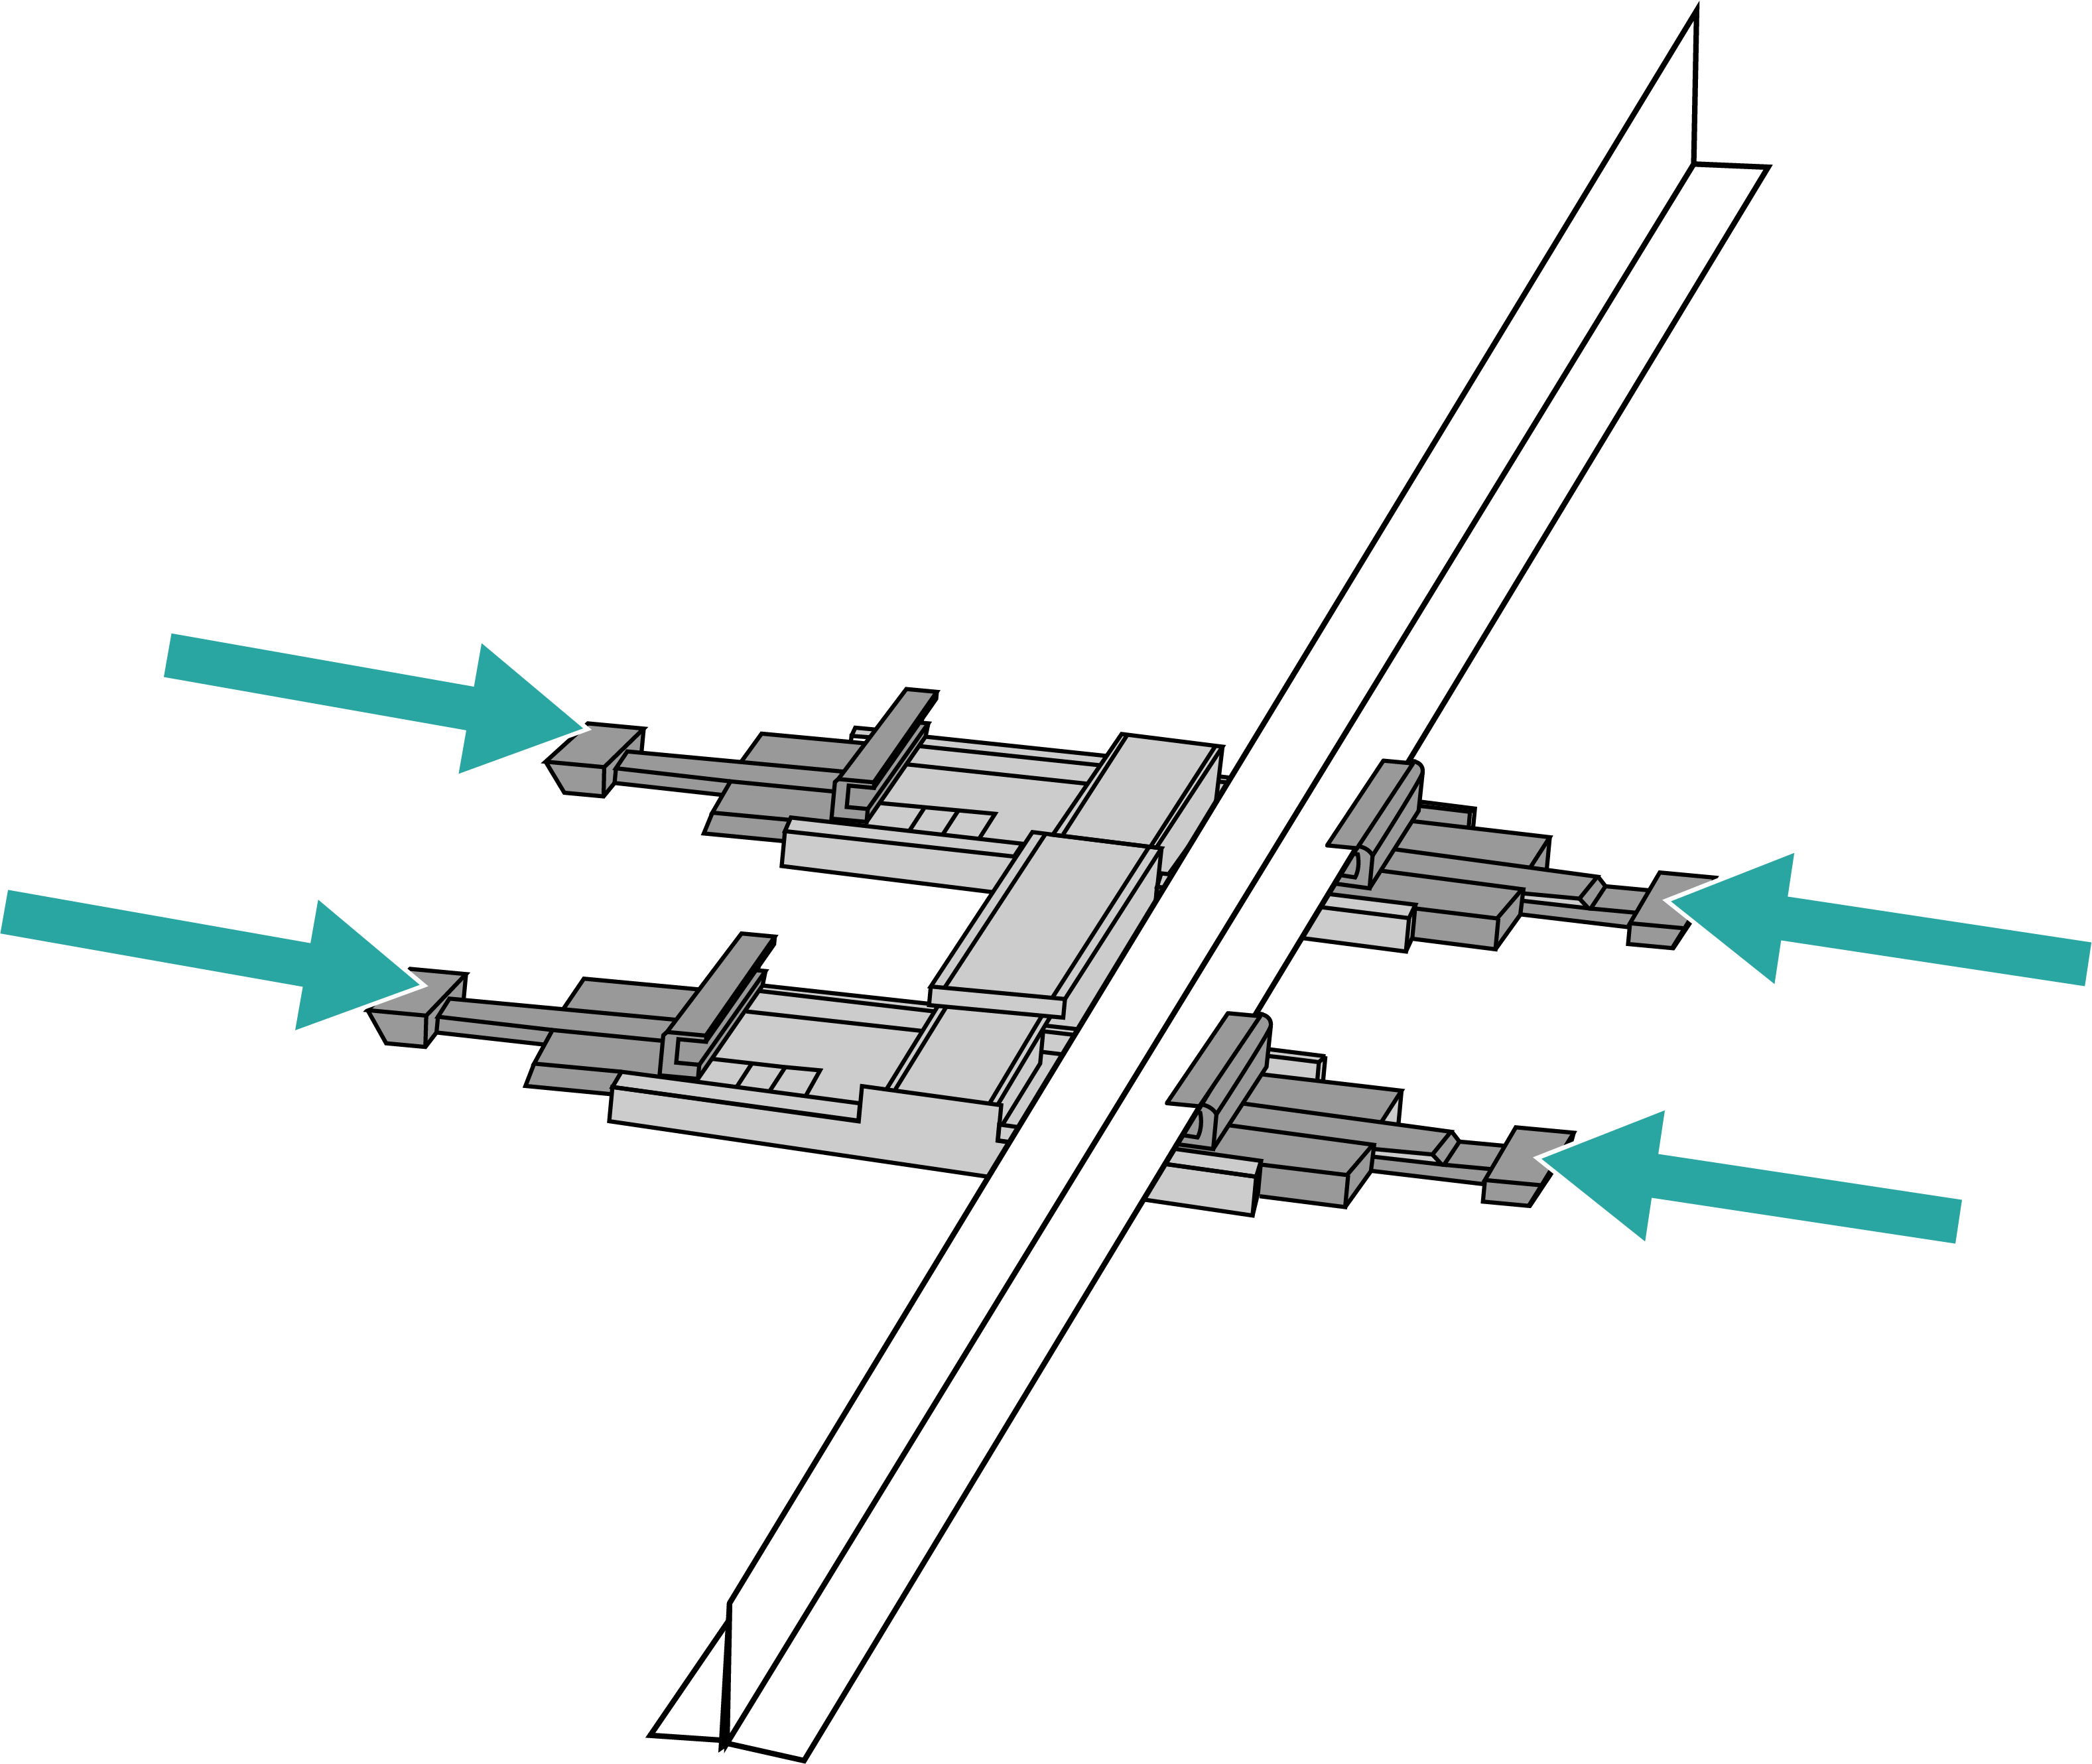
Insert the locking tab in the first position on the T-bar bracket.
-
Gently push the ceiling tiles, if present, up and out of the way.
-
Position the T-bar bracket so its two clasps grip one edge of the T-bar. Make sure that both clasps are gripping the T-bar.
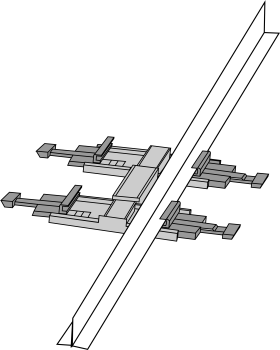
Note: Ensure that the center line of the bracket body is aligned with the center line of the T-bar.
-
Hold the AP in place and gently push the locking tab until its clasp grips the other edge of the T-bar. Make sure that all four clasps grip the T-bar.