Adding a Control4 system to OvrC
Note: The primary controller must be running OS 3.3.1 or later to register the device in OvrC. Read this article on how to use the Device Image Updater if the OS is lower than OS 3.3.1.
How to verify your Control4 account
Before registering a controller through OvrC, you must verify your account and connect it to your Control4 project. Follow the steps below to verify your OvrC account.
-
Click Account.
-
Click Link Control4 Partner Account.

-
Enter your my.control4.com credentials.
-
Click Verify Control4 Account.
How to register a Control4 controller
Once your dealer account is verified, follow the steps below to register a controller in OvrC.
-
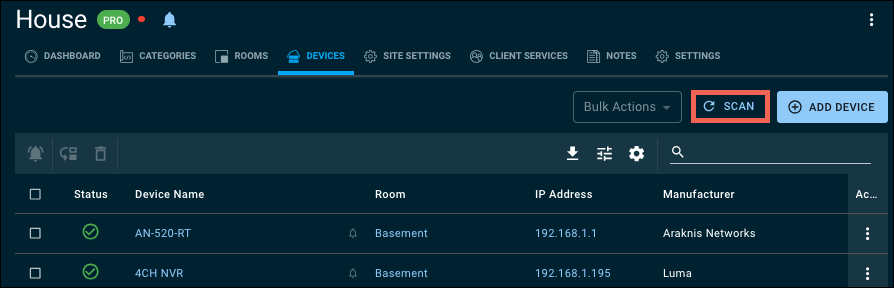
Select a Customer, then the Devices tab.

-
If there's an OvrC Pro Hub on-site, click the Scan button to automatically claim the newly added controller.
Note: By default, OvrC scans the network hourly, so the device may already be claimed and listed.
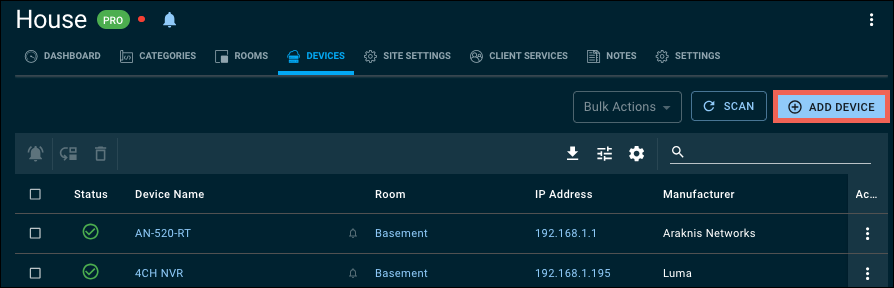
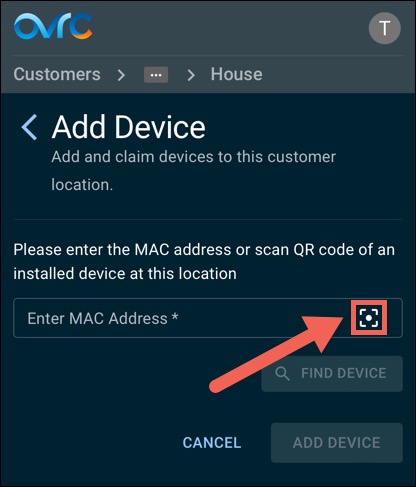
If there is not an OvrC Pro Hub on-site, click Add Device to manually enter the MAC address, then press the controller's ID button. Alternatively, you can enter the Serial number.
If you're using a mobile device, you can tap the Scan button. You may need to allow OvrC to access your mobile device's camera. Then center the QR code on the product box in the outline to scan it in.
-
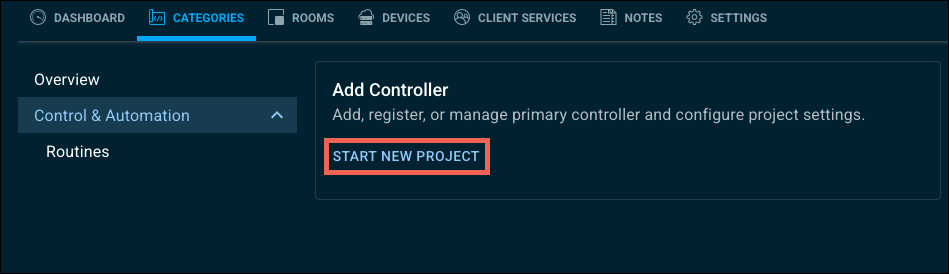
Click Categories.
-
Click Start New Project.
-
Click Control4 Project.
-
Select the controller.
Note: Only one primary controller can be added per location.
-
Click Set up and Register.
Once a controller is registered, temporary credentials are made available on the Categories tab for testing with the Control4 mobile app prior to handing the system to the customer.
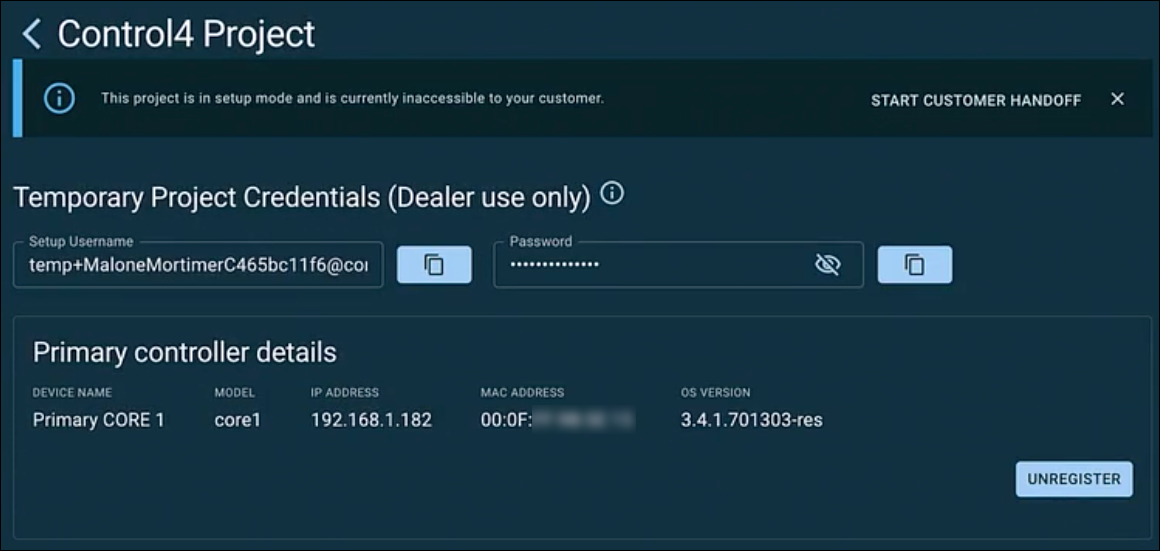
Note: OvrC refreshes temporary credentials every seven days. You have to sign in to the Control4 mobile app with the newly generated credentials.
Verifying the Customer's information before Hand-Off
Follow the steps below to verify the customer’s information is accurate in OvrC.
-
Click List on the left-side menu, then select the Customer.
-
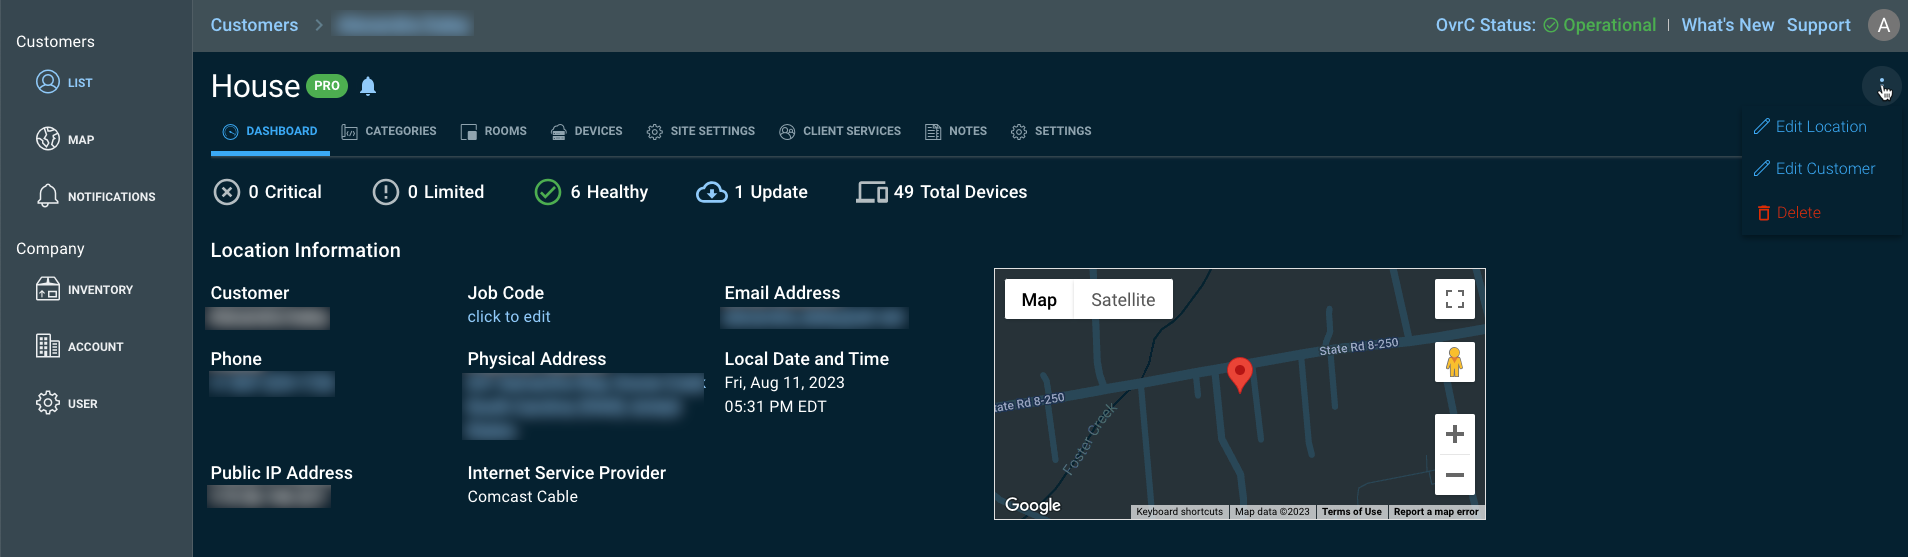
Review the customer’s information for accuracy.
-
If the customer’s physical address is inaccurate, click the three dots in the upper, right-hand corner of the page and click Edit Location.
-
If the customer’s name, phone number, or email address is inaccurate, click the three dots in the upper, right-hand corner of the page and click Edit Customer.
-
-
Make sure toSaveany changes.
Handing Off the Project to the Customer
-
Verify you're looking at the correct Customer Location in OvrC.
-
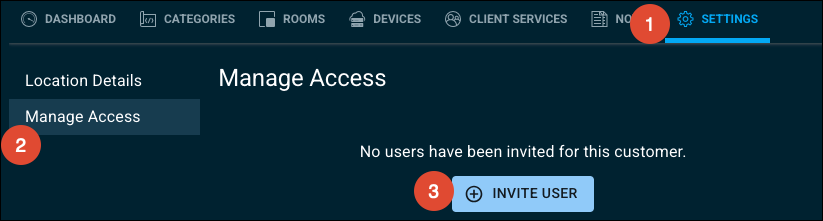
Click the Settings tab and go to Manage Access.
-
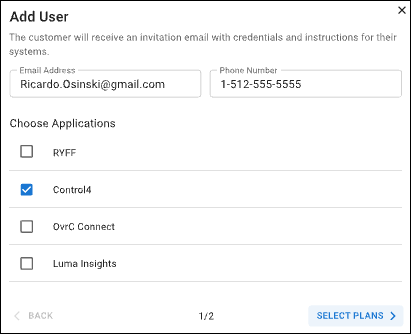
Click Invite User to enter the customer's Email Address and Phone Number. Then select which applications to invite them to.
-
Select Control4 then click Select Plans.
-
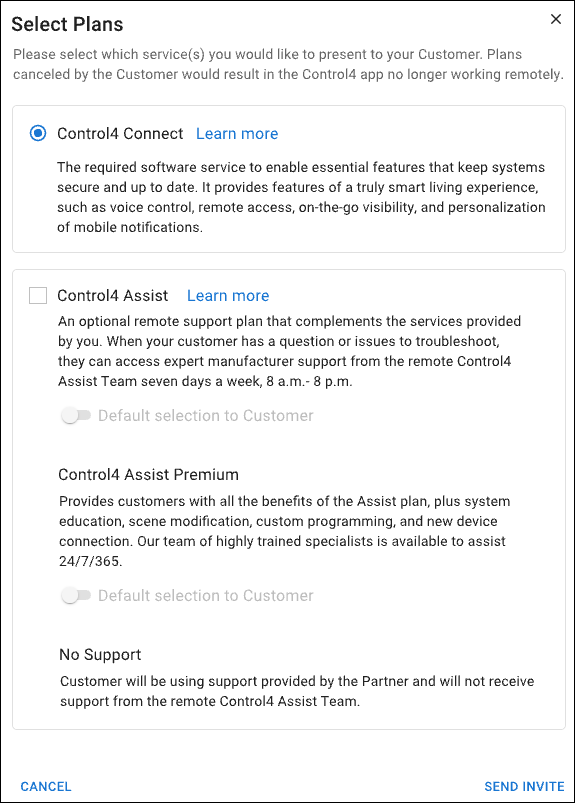
Select the service plan you have discussed with the Customer, then click Send Invite.
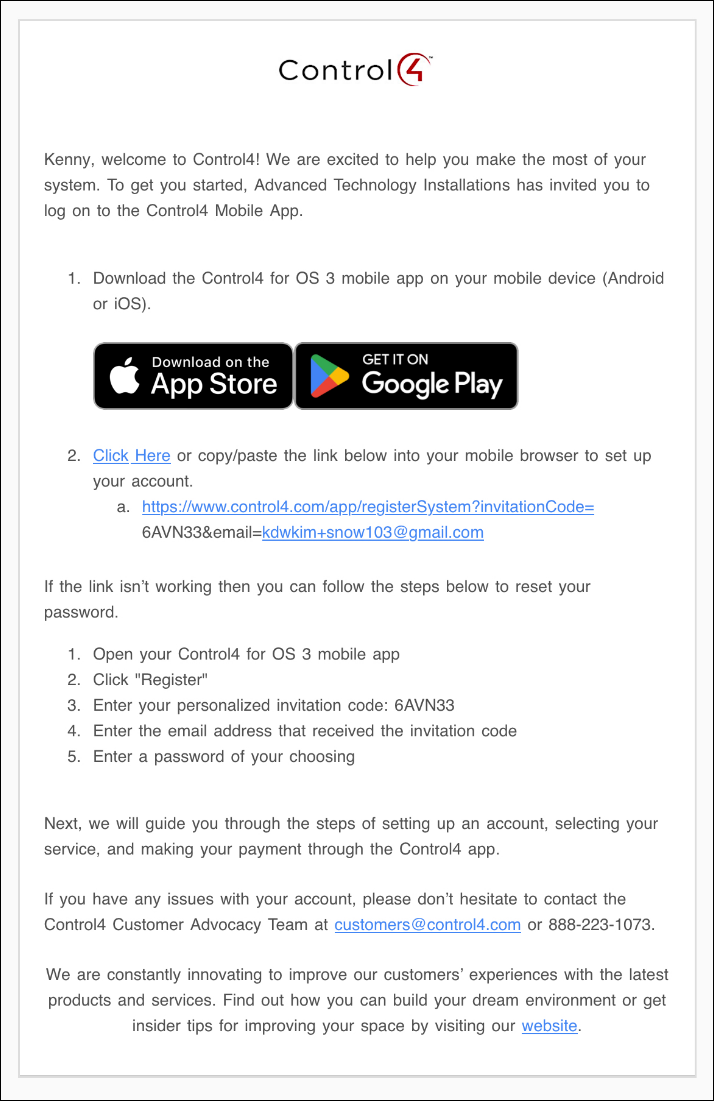
The customer receives an email from Control4 with a one-time use passcode to log into their Control4 account. The invitation expires in three days. Afterward, a new invite must be generated.
What is the appropriate timing to initiate the handoff? Can I withhold the handoff of the customer’s system until I’m fully paid?
The handoff timing may vary depending upon the particular project. We recommend that Partners define the terms and conditions of their handoff timing in their agreement with the customer (e.g. if payment in full is required before a project handoff).
Customer actions
The remainder of the customer hand-off process is completed within the Control4 mobile app. Ensure the customer completes the following steps to successfully log into their Control4 account.
-
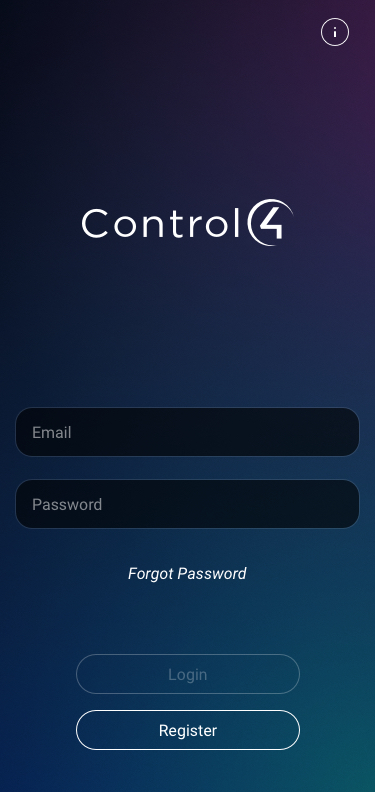
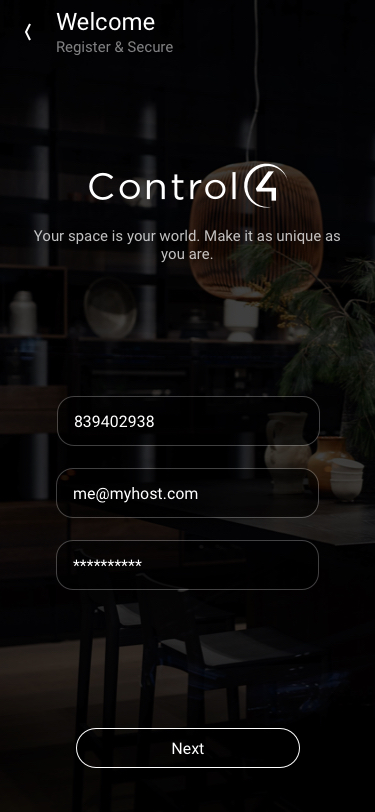
The customer taps the link to download the Control4 mobile app from the App Store or Google Play. They open the app and click Register.
Pro Tip: Have the customer go back to the invitation email and tap “Click here,” number 2, under the mobile app download icons, to automatically populate their invitation code and email address.
-
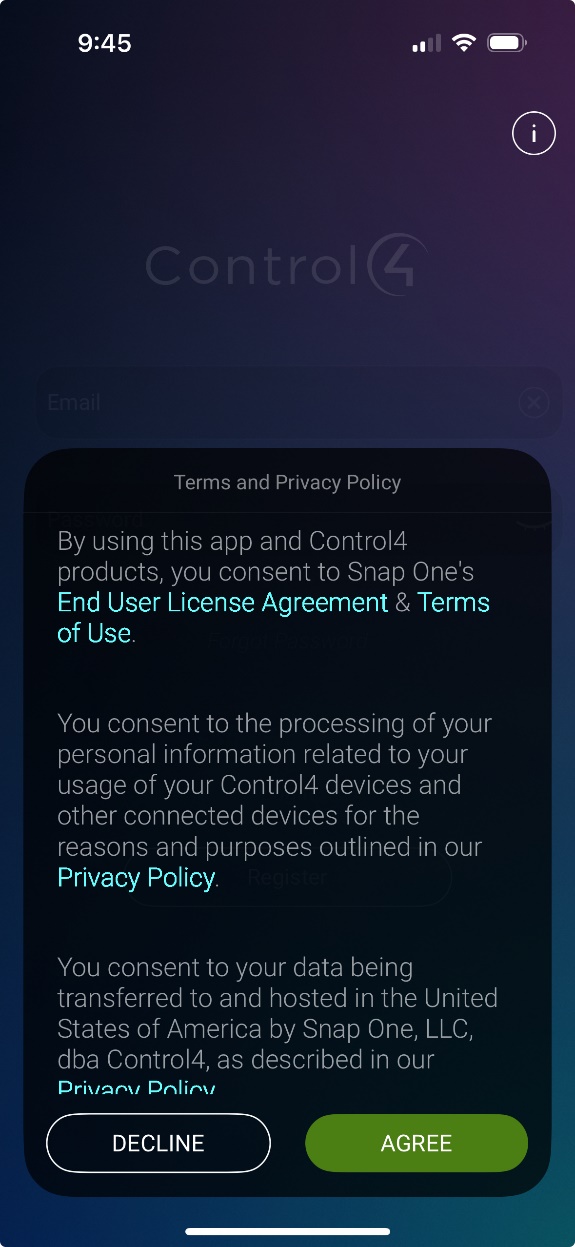
The customer reviews and agrees to the Control4 Terms & Privacy Policy.
-
The customer creates their account by entering the one-time use passcode, their email address, and a new password.
-
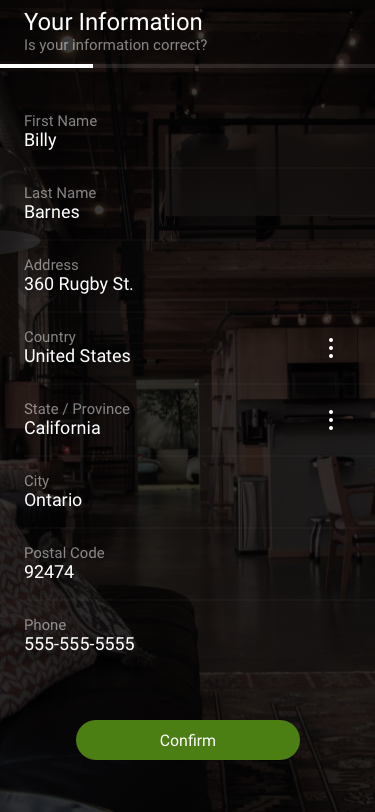
The customer reviews, confirms, or edits their information.
-
The customer reviews information about the required Connect annual plan.
Connect for CA-1 and single CORE Lite projects are $0
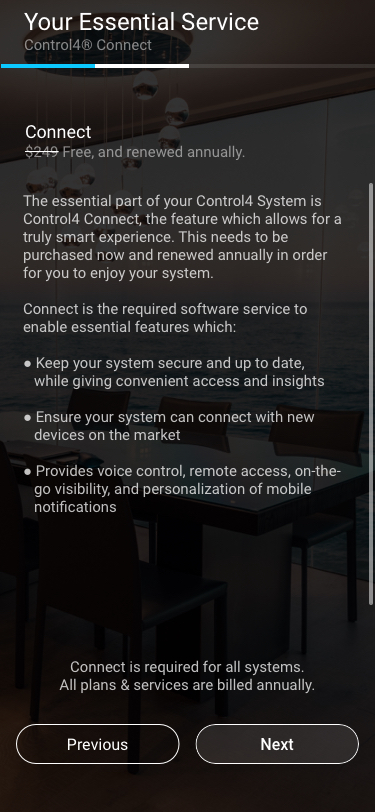
All other scenarios including multiple controllers are $249 plus tax, yearly
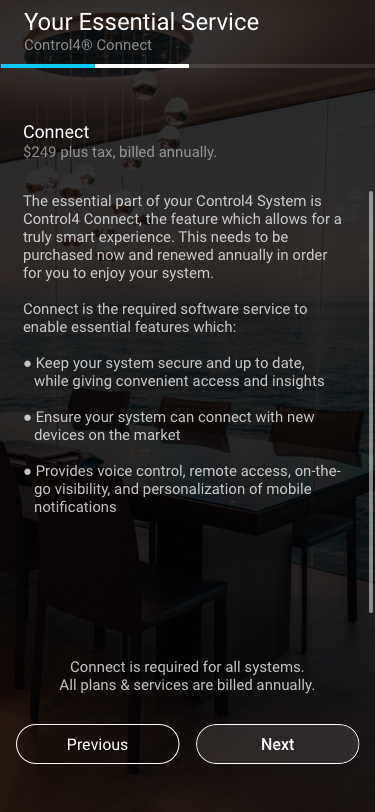
Note: If the customer upgrades to a new controller, a new Connect payment plan is sent to the customer. Meaning, if a CA1 project adds one Core Lite to the project, they are immediately upgraded to a $249 yearly plan, because the project has multiple controllers. The renewal charge is the date of the customer’s sign-up, not the date of the added controller.
Connect for CA-1 and single CORE Lite projects are $0
All other scenarios including multiple controllers are $249 plus tax, yearly
Note: If the customer upgrades to a new controller, a new Connect payment plan is sent to the customer. Meaning, if a CA1 project adds one Core Lite to the project, they are immediately upgraded to a $249 yearly plan, because the project has multiple controllers. The renewal charge is the date of the customer’s sign-up, not the date of the added controller.
-
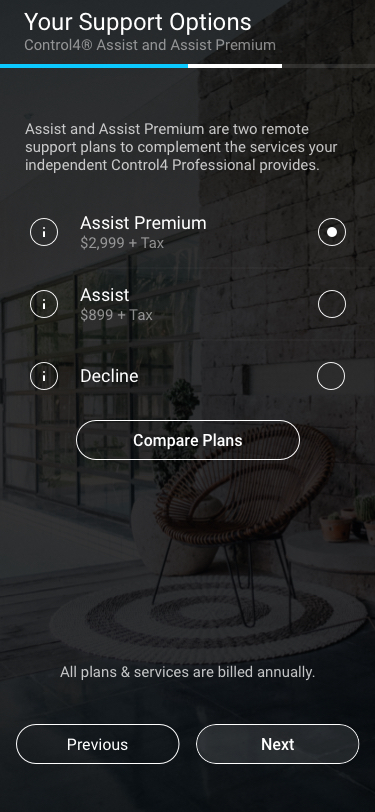
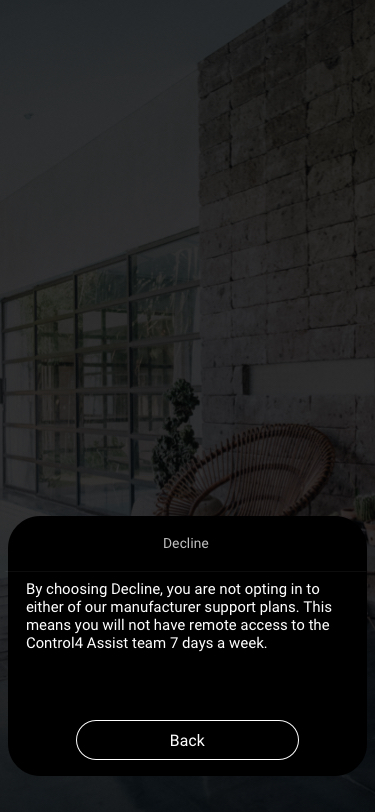
The customer views additional support options for Assist and Assist Premium plans. Click or tap Compare Plans to see the features available for each. Then select Assist, Assist, Premium, or Decline.
Assist is an additional $899, plus applicable taxes, per year. Assist Premium is an additional $2,999 per year.
Note: You must be Control4 Assist Authorized to offer Assist and Assist Premium to customers.
-
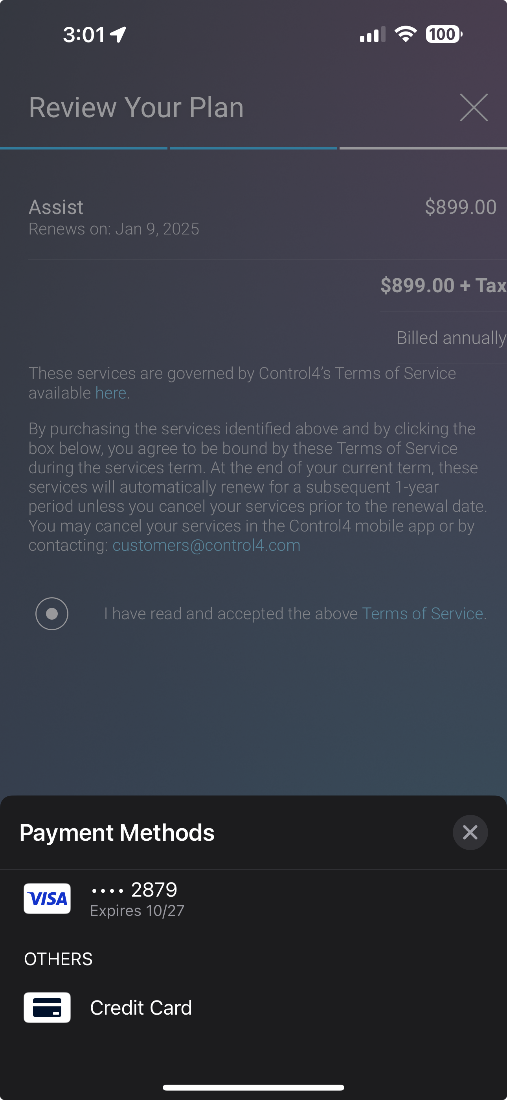
The customer reviews their selected plan summary.

Note: The total cost includes the price of Connect and the selected support option.
-
The customer enters their credit card information.
-
The customer completes the registration process and taps or clicks Learn Control4.
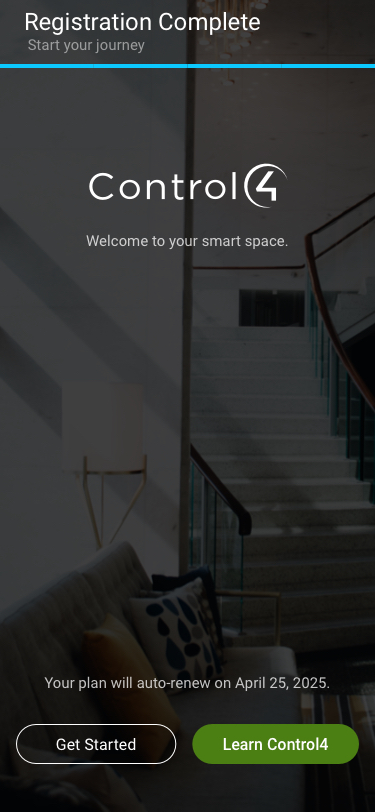
-
After registration, the customer is presented with the option to learn more about their system, or they can tapGet Started to skip the Knowledge Hub for now and go to their home screen.