Organize Your OvrC with Groups
What groups are
Groups sort your employees and business partners into functional categories, allowing you to restrict the actions and customers that are available for each of your employees and business partners. You create and modify your company's groups to fit your needs. Although OvrC comes with preset groups, you can edit or delete them as you like.
For example, you could use groups to:
-
ensure that only your best employees work on your prime accounts,
-
flag employees with keys to company truck
-
mark technicians' areas of expertise
-
etc.
Each employee and business partner can be part of several groups. For example, you could create a group called Managers that gives members the ability to use administrative functions (like adding or deleting employees, etc.) but no customer contacts, and a second group called Springfield Employees that gives members access to all customers in that town. The Springfield Branch Manager would be a member of both groups.
Create a custom group
Log in to app.OvrC.com.
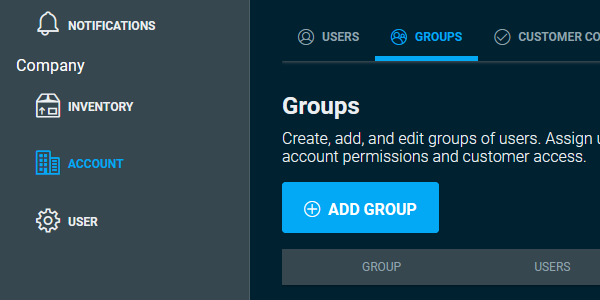
Click the Account icon to the left, then click the Groups tab.
Click the + Add Group button.
At the top, type a name for the group. Add a description of the group's purpose.

Grant permissions for activities
Under Global Permissions, decide whether the group can use administrative actions. These permissions do not apply to outside partners; they can never use administrative actions.
Under Customer Permissions, use the toggles to decide whether group members can delete your customers, devices, and locations; and whether or not they are allowed to take snapshots from the customers' surveillance cameras.
Add access to specific customers
Click the Customer Access tab.
By default, your employees have access to all your customers and locations, but business partners do not. You must select which customers your partners can access.
OvrC displays all your customers in a grid. Click a customer to allow the group access to that customer and all of that customer’s locations. Click a customer's dropdown menu to remove access to some of that customer’s locations.
Click Save.
Populate the group
Click Account in the left menu, then click the Groups tab.
Click the pencil icon in one of the groups to edit it. This opens the Groups Settings window.
Click the Users pane.
OvrC shows all your users. At the top, you can use the search bar to find specific people.
Current group members have a check mark beside their name. Select users to be added to (or removed from) the group by clicking the plus icon (or check icon) next to their name. Click Save to enable all the changes you made.