Temperature sensor configuration in OvrC
Each WattBox supports up to six Sensor Actions shared across all the temperature sensors. For example, if there are two temperature sensors connected, the six Sensor Actions are shared between them.
-
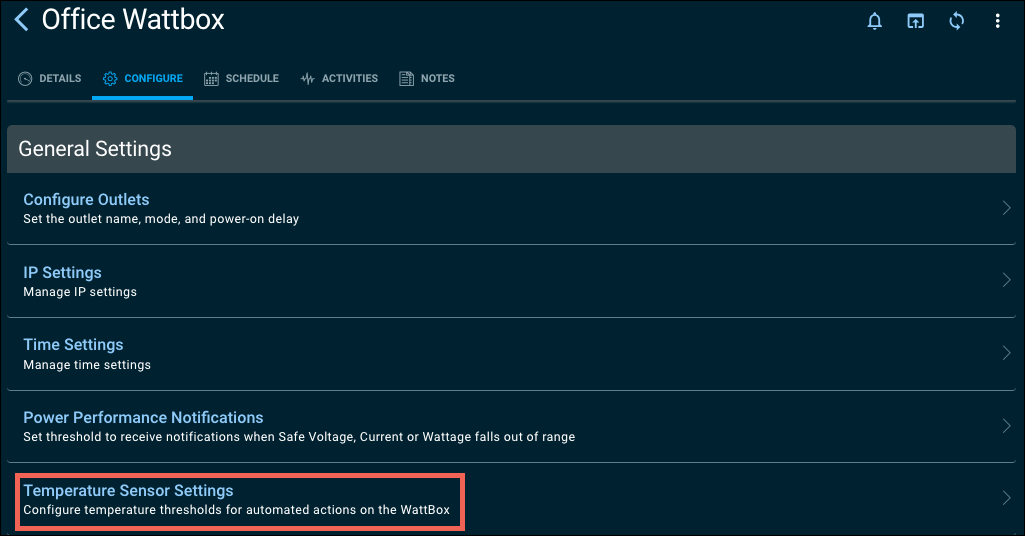
To configure the temperature sensor(s), open the WattBox’s Configure tab, then click Temperature Sensor Settings.
-
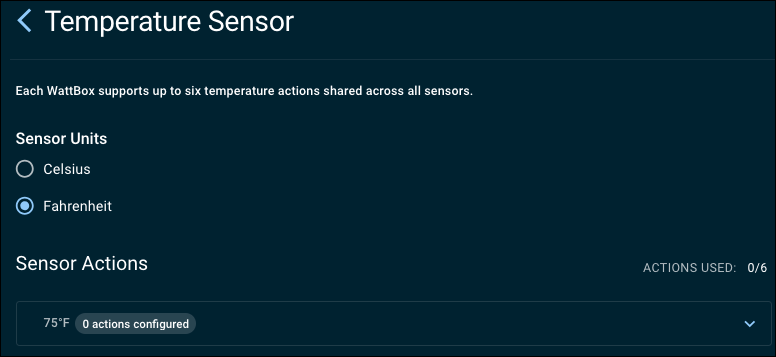
Select the unit of measurement for the temperature sensor. Celsius or Fahrenheit.
-
Under Sensor Actions, click to expand the Actions pane for the sensor.

-
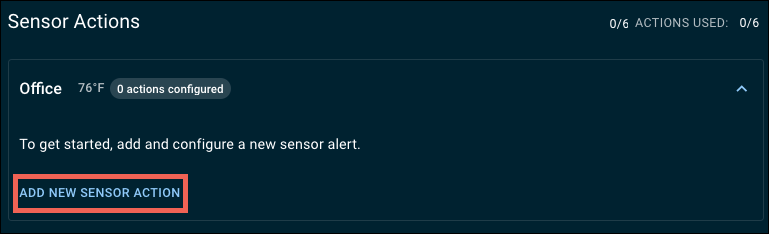
Click Add New Sensor Action.
-
Enter a meaningful Action Name, like Turn the Amps off or Temp too hot. Turn outlets off. This is the event identifier you receive through notifications.
-
Set the Criteria to Temperature is over or under.
-
For Degrees, enter the temperature that triggers the action.
-
Select a Duration time that the Degrees criteria must be met before triggering the action.
-
Select an Action to take. The options are to turn outlets on, turn outlets off, reset outlets, or alert only.
-
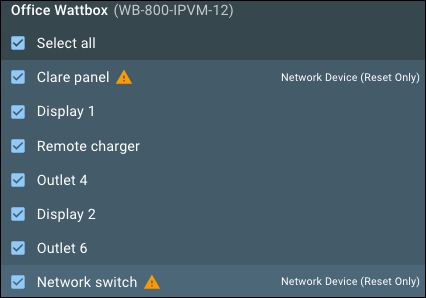
Use the Outlets drop-down to select which outlets take the defined action.
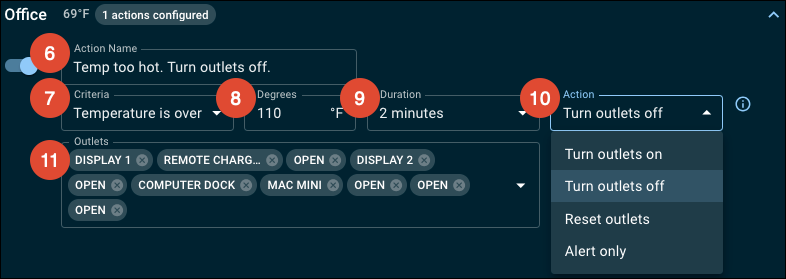
Note: A caution symbol appears next to outlets set to Reset Only, which are not compatible with the Turn outlets on or off actions.
-
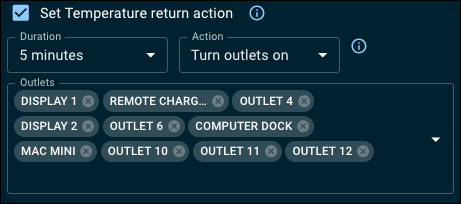
If desired, enable a Set Temperature return action. This action takes place after the temperature returns to a level that no longer meets the configured criteria. Set the Duration, Action, and Outlets affected.
-
Repeat steps 5 through 11 to add up to six Sensor Actions. Each WattBox supports up to six Sensor Actions shared across all the temperature sensors. For example, if there are two temperature sensors connected, the six Sensor Actions are shared between them.
Note: Outlets set to Disabled are grayed out and not selectable.
-
Click Apply Settings to save the configuration.