Zone configuration
Episode MoIP amplifiers are fully configurable within OvrC, just like all other MoIP devices. For more information on OvrC, go to ovrc.com.
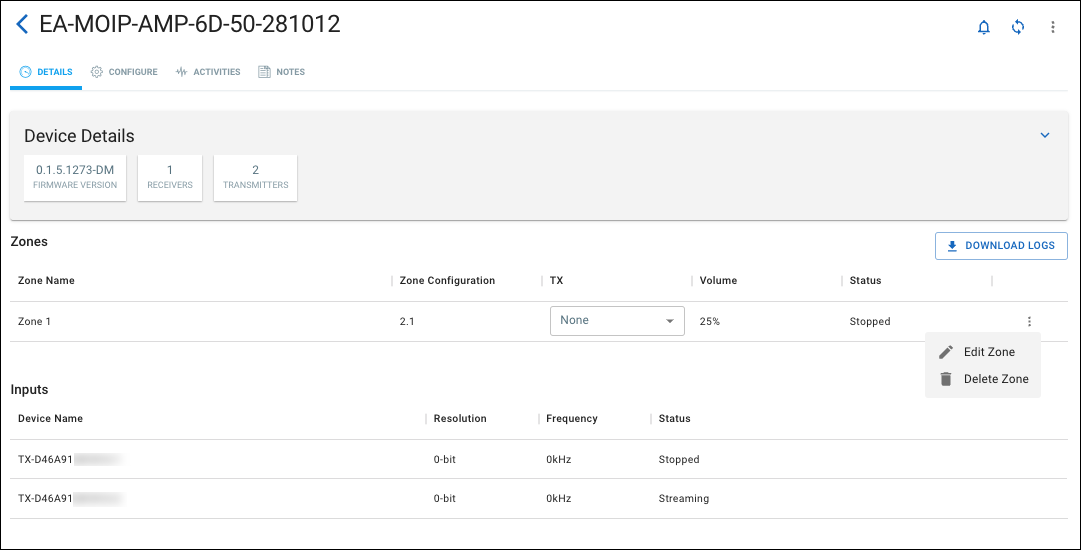
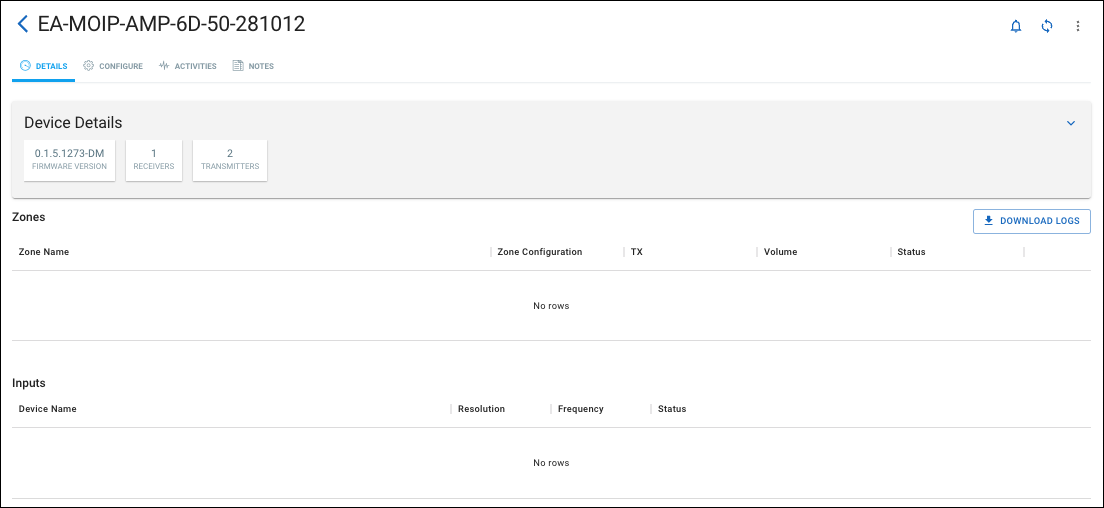
Click on the device name to open the Device Details page. This page shows all of the zones and sources (inputs) in the amp's configuration. The amp does not have pre-configured zones.
Front LED Toggle
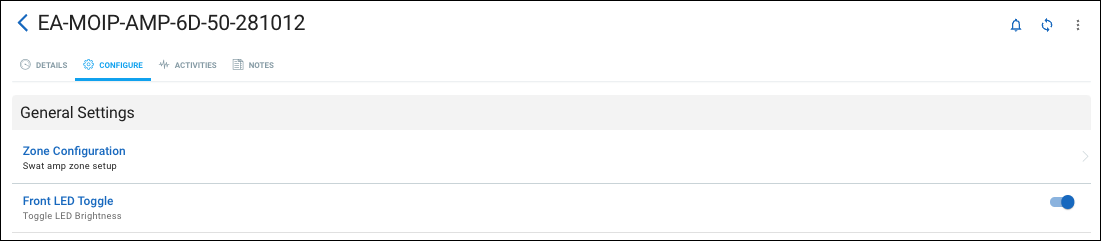
The Configure tab has a Front LED Toggle to turn the LEDs off when the amp is installed in a visible location, like mounted behind a TV.
Adding a new Zone
-
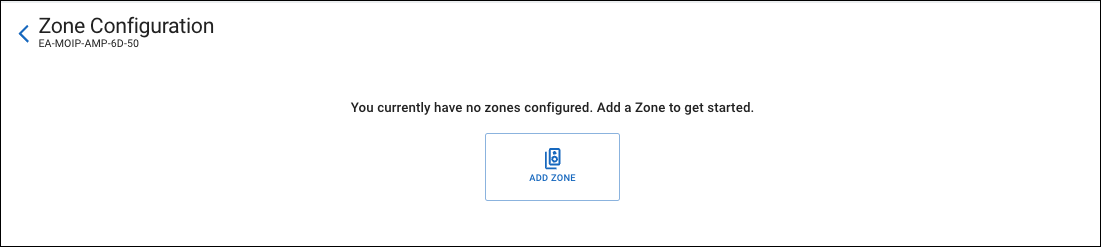
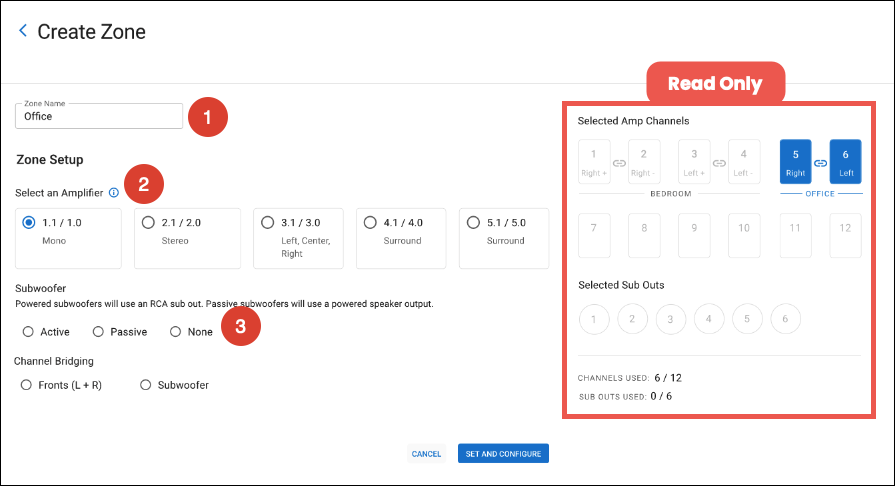
From the Configuration tab, click Zone Configuration. Click Add Zone to open the zone creation page.
-
Enter a Zone Name , then Select an Amplifier (playback format) under Zone Setup.
-
Under Subwoofer, select Powered, Passive, or None. Powered subwoofers use the RCA sub out corresponding to the zone number, and passive subwoofers use a powered speaker output channel.
Note: OvrC displays the Amp Channels (Left, Right, Center, etc) and Sub Outs for the zone configuration on the right side of the page, highlighted in blue.
-
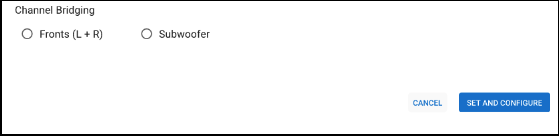
If desired, enable Channel Bridging (EA-MOIP-AMP-12D-100 Only). Options include:
-
Fronts (L+R) — Bridges the front left and right speakers in your system. For mono zones, the mono output channel is bridged.
-
Subwoofer — Bridges the subwoofer output channel(s) when using a passive subwoofer.
Note: Bridged channels must begin on an odd numbered channel. Be sure to plan the order of your zone configurations accordingly. See the section on or the rear panel labeling for information on bridged channel wiring.
-
Click Set and Configure.
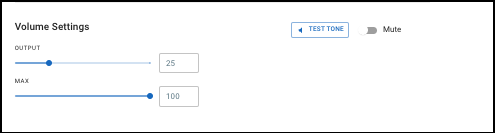
Volume Settings
-
Output — Sets output volume for the entire zone.
-
Max — Sets a maximum volume value for the entire zone.
-
Test Tone — Sends a 1kHz sine tone to all channels in the zone.
-
Mute — Mutes the entire zone.
Speaker Settings
-
Speaker Preset — Use these drop-downs to select the Episode or Triad speaker in the corresponding output channel (Front Left, Front Right, etc). This automatically tunes the EQ response of the amplifier to optimize the performance of the specific speaker.
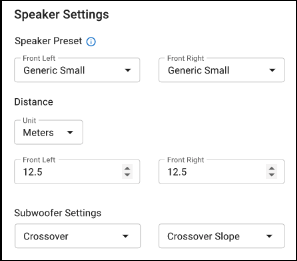
If the speaker you are using isn’t listed, select Generic Small (architectural speakers, bookshelf speakers, or small satellites) or Generic Large (floorstanding speakers, dual driver LCRs).
-
Distance — Use these fields to set the distance of each speaker from the listening position to time align the speakers to create the most impactful listening experience.
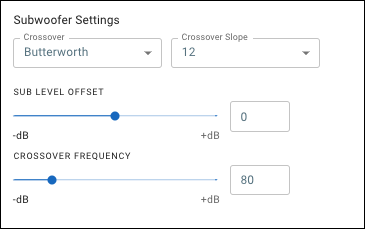
Subwoofer Settings
-
Crossover — Sets the filter type - Butterworth or Linkwitz-Riley. A Butterworth crossover is 3dB down at the filter cutoff frequency while the Linkwitz-Riley filter is flat.
-
Crossover Slope — Sets the slope of the crossover (-12dB/Octave, -24dB/Octave, -48dB/Octave)
-
Sub Level Offset — Sets the gain level of the subwoofer relative to the overall volume setting of the zone. Use this to set the optimal subwoofer level for the listening space and listener’s preference.
-
Crossover Frequency — Sets the crossover point.
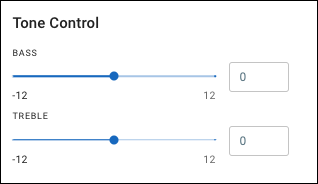
Tone Control
The tone control sliders to make macro adjustments to the overall sound of the zone output.
-
Bass — Low shelf @ 125 Hz, 12dB/Octave slope.
-
Treble — High shelf @ 2kHz, 12dB/Octave slope.
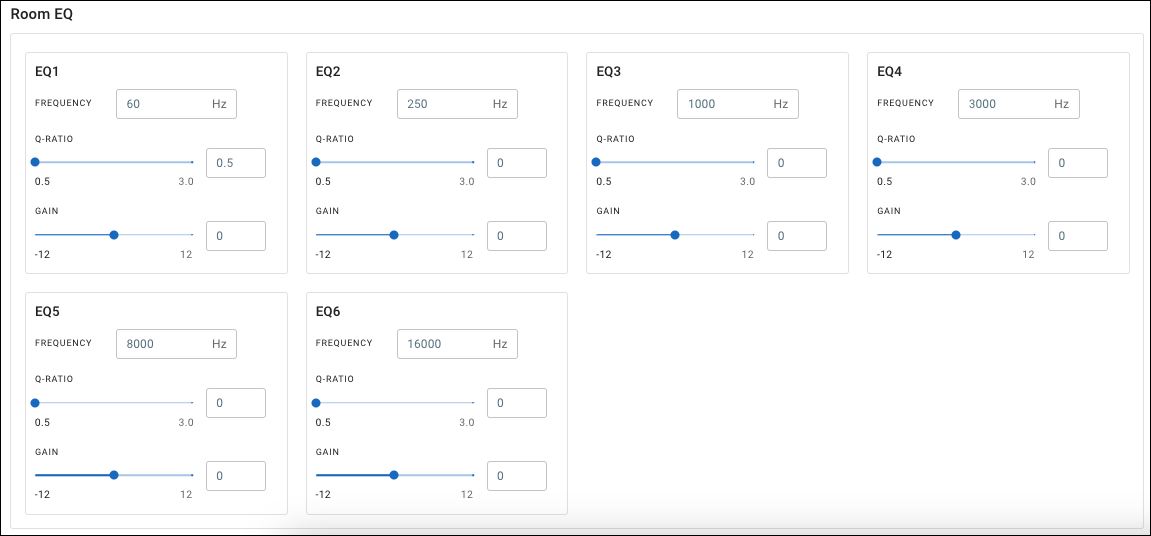
Room EQ
The Room EQ section provides 6 bands of fully parametric EQ to fine-tune the amplifier’s response within the zone. This is in addition to the EQ curve implemented when a Speaker Preset is selected.
Once you’ve completed the zone configuration, click on the back arrow or the device name at the top of the page to return to the Device Configuration page and add another Zone.
The Details now displays the configured zone information in the Zones section, as well as the MoIP TX associated with the analog and digital local inputs. The TX drop-down allows you to select a source for the Zone.