How to configure VLANs on AN-220/520 routers
-
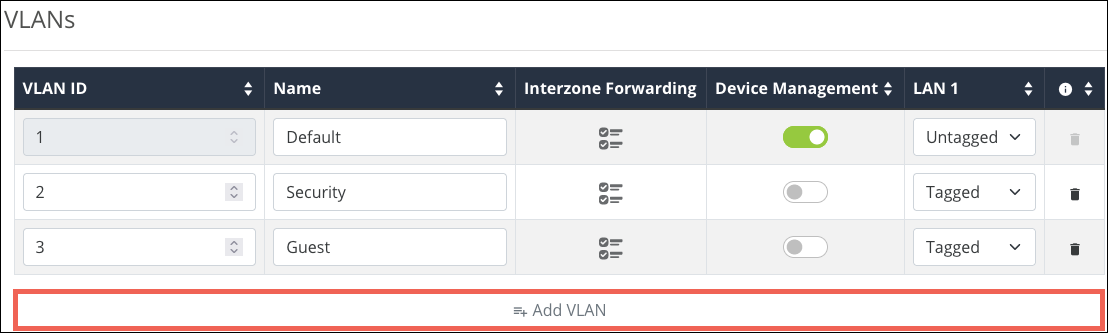
Log in to the local user interface and navigate to Advanced > VLANs.
-
Click the Add VLAN button.
-
Enter a VLAN ID between 1 and 4095.
-
Enter a meaningful Name.
-
If desired, click the
 icon to configure Interzone Forwarding (previously InterVLAN routing). This allows communication between client devices connected to the VLANs. Do not use this feature if security between VLANs is a concern.
Select which VLANs to forward data TO, and the VLANs to receive data FROM. Then click Apply.
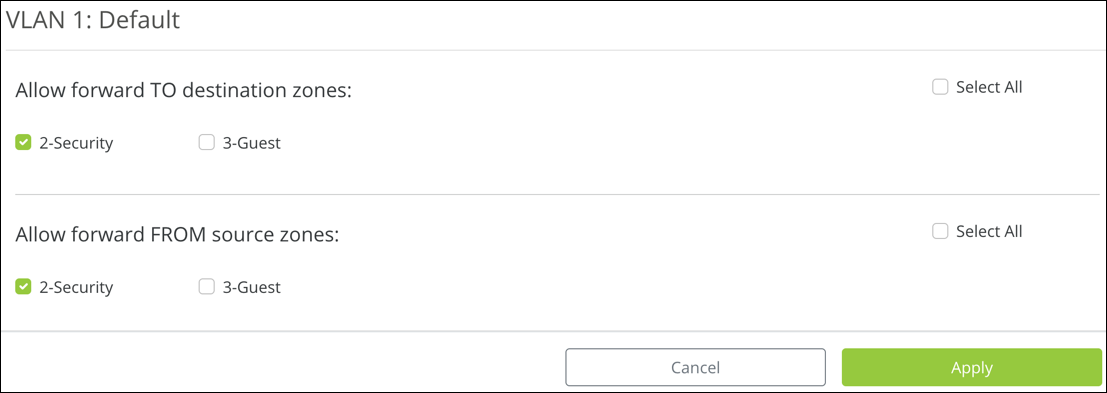
Note: You must enable this feature on each VLAN that you want to communicate with each other.
-
Enable Device Management on VLANs that should have access to the router interface.

-
Set each LAN port as Tagged, Untagged, or Excluded.
-
Untagged – Network frames that are unaware they are part of a VLAN. Untagged traffic is usually the default VLAN of the router.
-
Tagged – Network frames assigned to a specific VLAN. When you create a new VLAN, it's almost always tagged.
-
Excluded – The port is not a member of a specified VLAN.

Note: Ports can only have one VLAN set as Untagged.
-
-
Click Apply.