Configuration
Araknis switches can be configured through OvrC or the local interface. The local interface is accessible using OvrC’s webconnect feature, typing the switch’s DHCP address into your browser’s address bar, or using the switch’s default IP address.
Note: Only features in the local UI are supported by Snap One.
Configuring the switch in OvrC
OvrC provides remote device management, real-time notifications, and intuitive customer management, using your computer or mobile device. Setup is plug-and-play, with no port forwarding or DDNS address required.
To add this device to your OvrC account:
-
Connect the switch to the internet.
-
Log into OvrC (www.ovrc.com).
-
Scan the site using an OvrC Pro device, or add the switch manually by entering the MAC address and Service Tag.

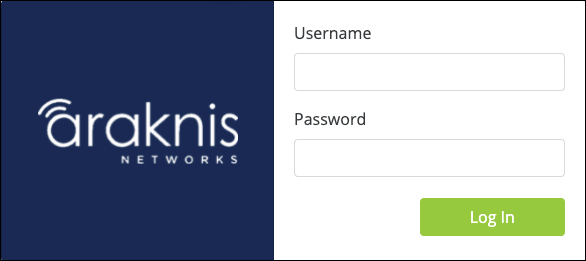
Logging into the web interface
-
Log into the switch using the default credentials:
|
Username |
araknis |
|
Password |
araknis |
-
You must update the password after initial login.
Pro Tip: Strong passwords are long and unrelated to the client’s public details. For example, thepepperonipizzas is stronger and easier to remember than P@ssword or thesmiths.
Other access methods: DHCP IP address
The switch is configured to DHCP by default so that the DHCP server can assign an IP address when the switch is connected to the network (the DHCP server is usually the router). This address can be used for accessing the web interface.
Use one of these methods to find the IP address of the switch:
-
Check the device list in OvrC.
-
Check the client table on your router.
-
Use a network scanner (e.g. Fing) to scan the network. The Araknis switch manufacturer field displays SnapAV.
-
See the highlighted field in the Fing screenshot to the right for an example of an Araknis device being identified.

Accessing the switch using the default IP address
If the switch is not given a DHCP address, or needs to be accessed while not connected to a network, you can configure your computer’s network connection to access the switch using the default IP address, 192.168.20.254.
Step 1: Connect your PC to the switch using an Ethernet cable.

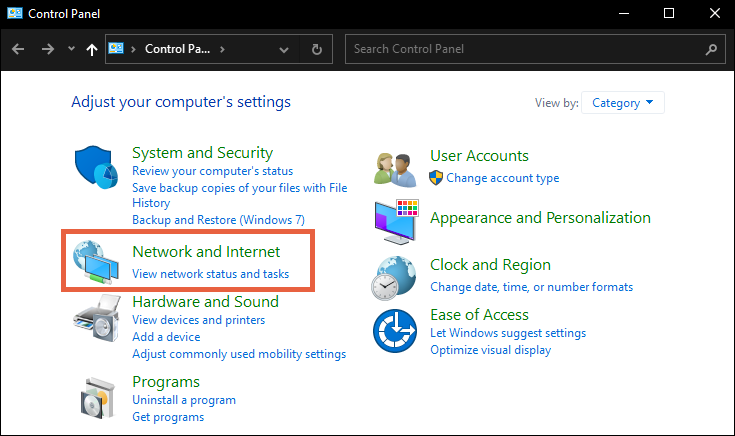
Step 2: Open the Control Panel and click Network and Internet.
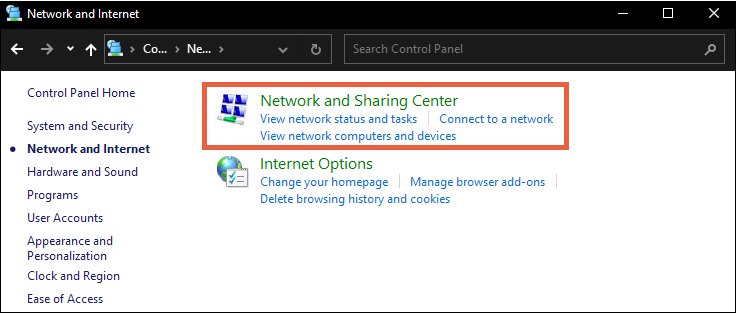
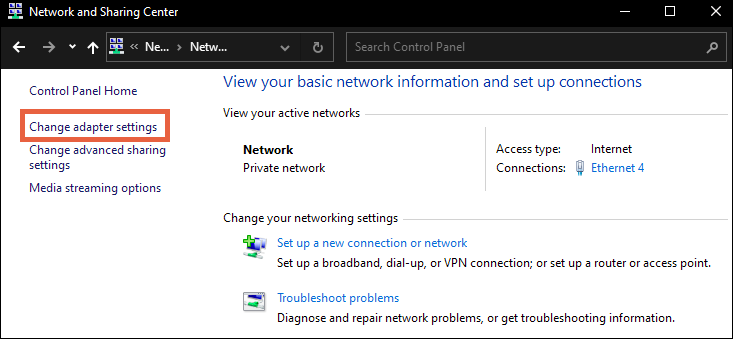
Step 3: Click Network and Sharing Center.
Step 4: Click Change adapter settings.
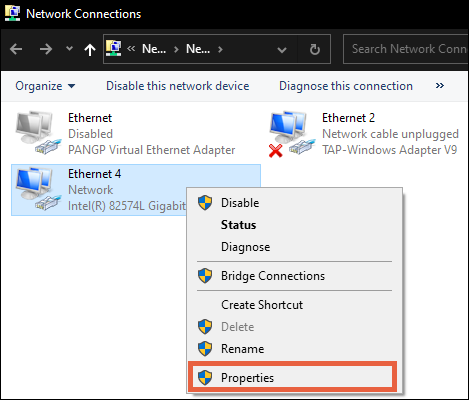
Step 5: Right-click the icon for the wired network connection, then left-click Properties.
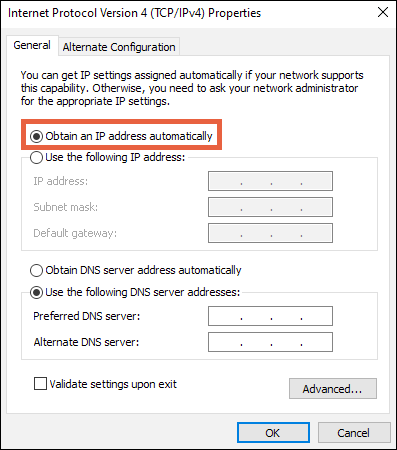
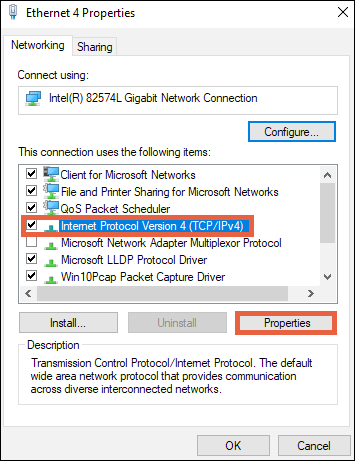
Step 6: Select Internet Protocol Version 4 (TCP/IPv4), then click Properties.
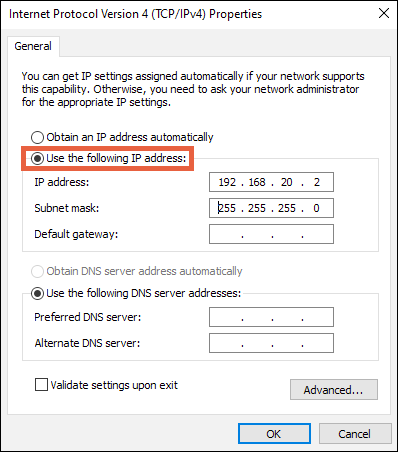
Step 7: In the General tab, click Use the following IP address: and enter the IP address and subnet mask, then click OK.
|
IP Address |
192.168.20.2 |
|
Subnet Mask |
255.255.255.0 |
Step 8: Open a browser and navigate to https://192.168.20.254/. Log in using the default credentials:
|
Username |
araknis |
|
Password |
araknis |
Step 9: After configuring the switch, set your computer’s IPv4 Properties back to Obtain an IP address automatically, then click OK.